Wire Assignment #2
Week 1
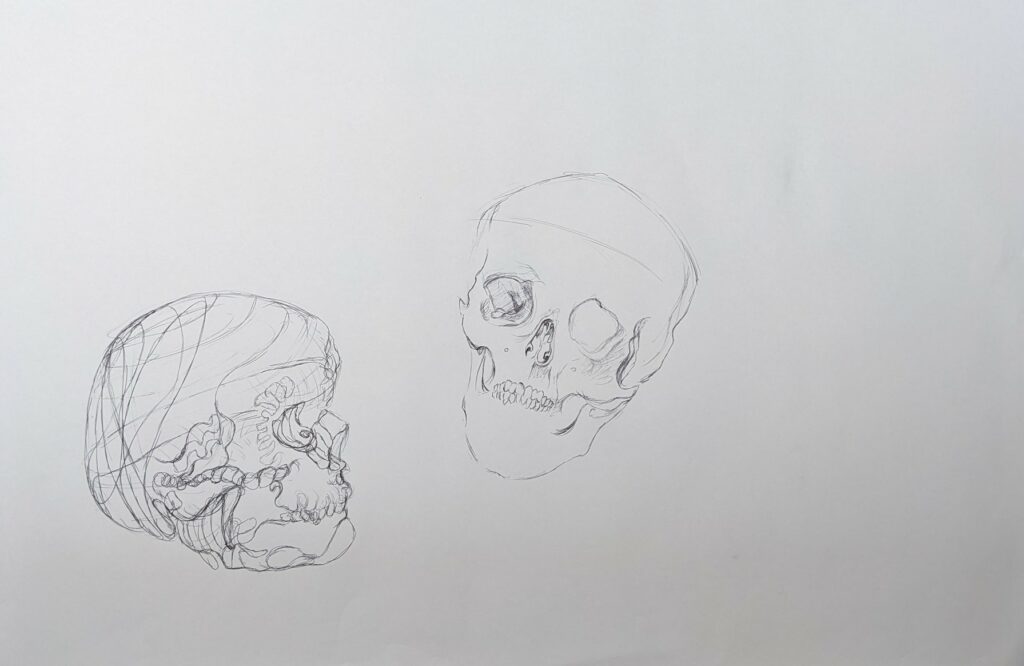
- A first sketch of the skull, understanding the shape and details.
- I think that the left skull shows promise for creative direction & innovation, I would like to build a relationship between this image and how the final wire sculpture ends up. I especially like the circular, spiral shape of the back of the skull although I’m not sure how practical it is yet.
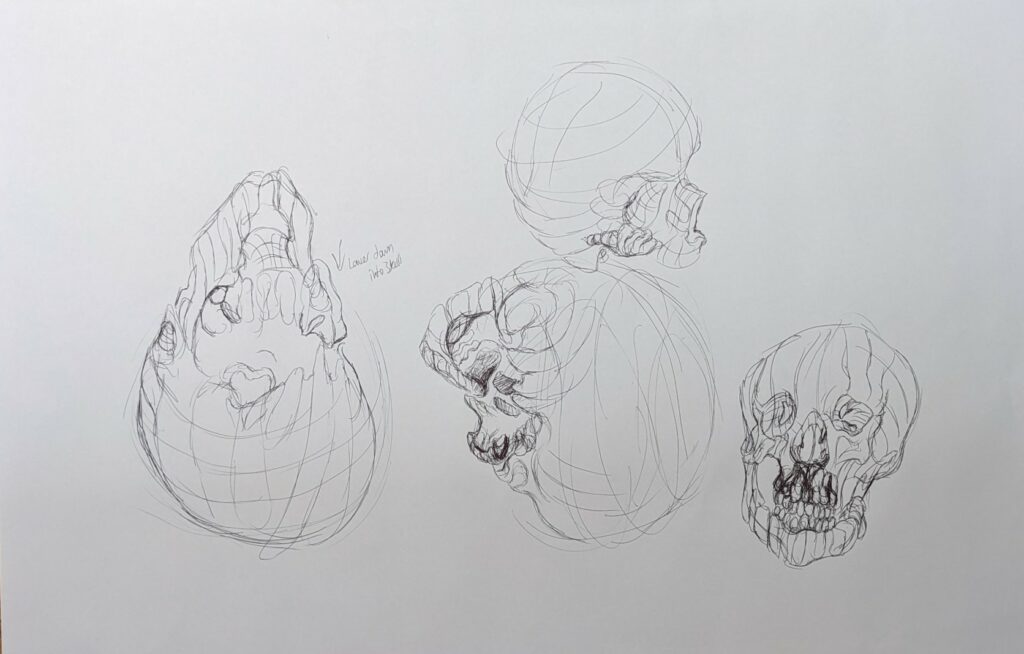
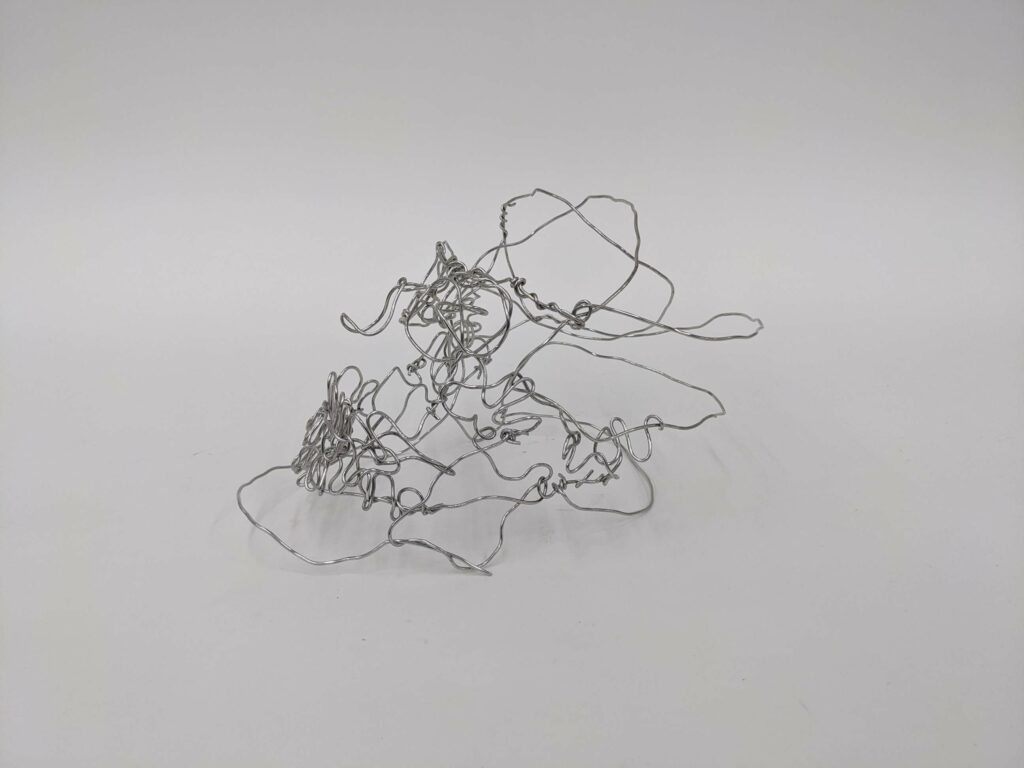
- Trying to understand through the back and underside of the skull…depth into eye sockets and loose schematics for how the jaw might be accomplished with wire.
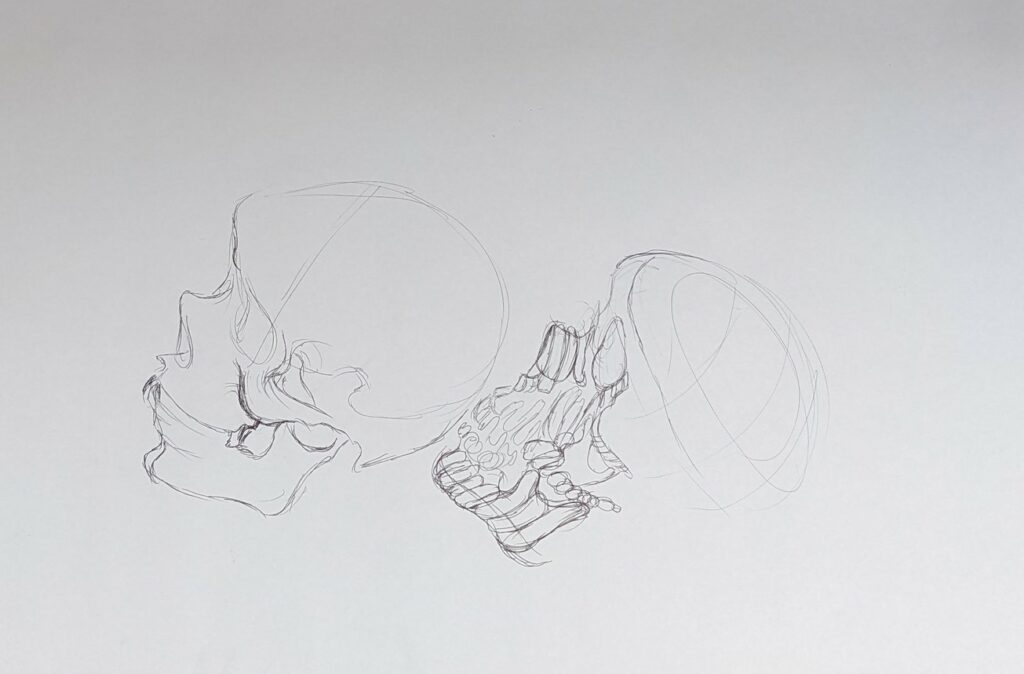
- Moving away from the details a bit finally, just understanding the basic structure and proportions as that was something I was struggling with.
- The idea for more creative incorporation of building shapeliness comes in with the skull on the right again.
Week 2
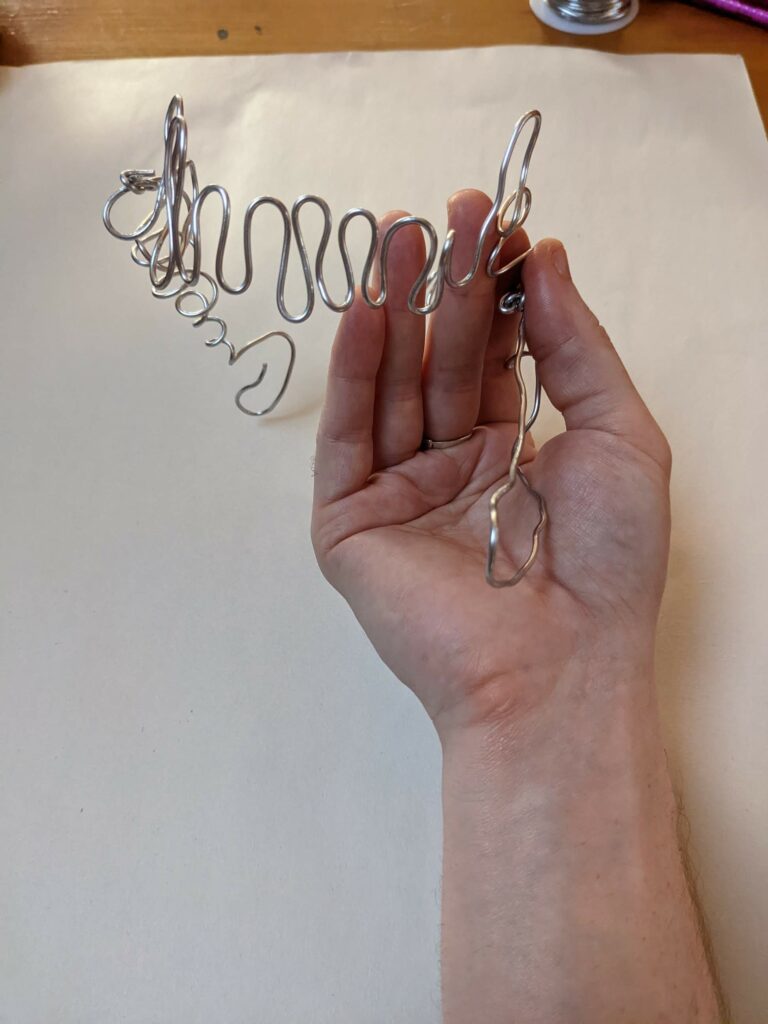
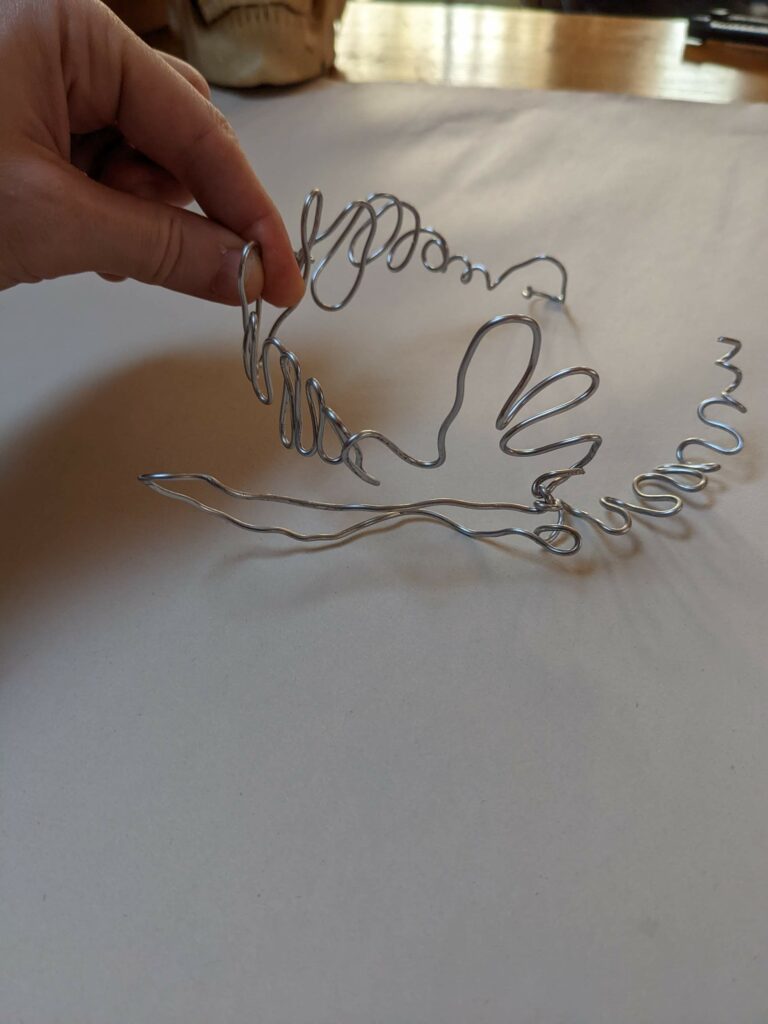
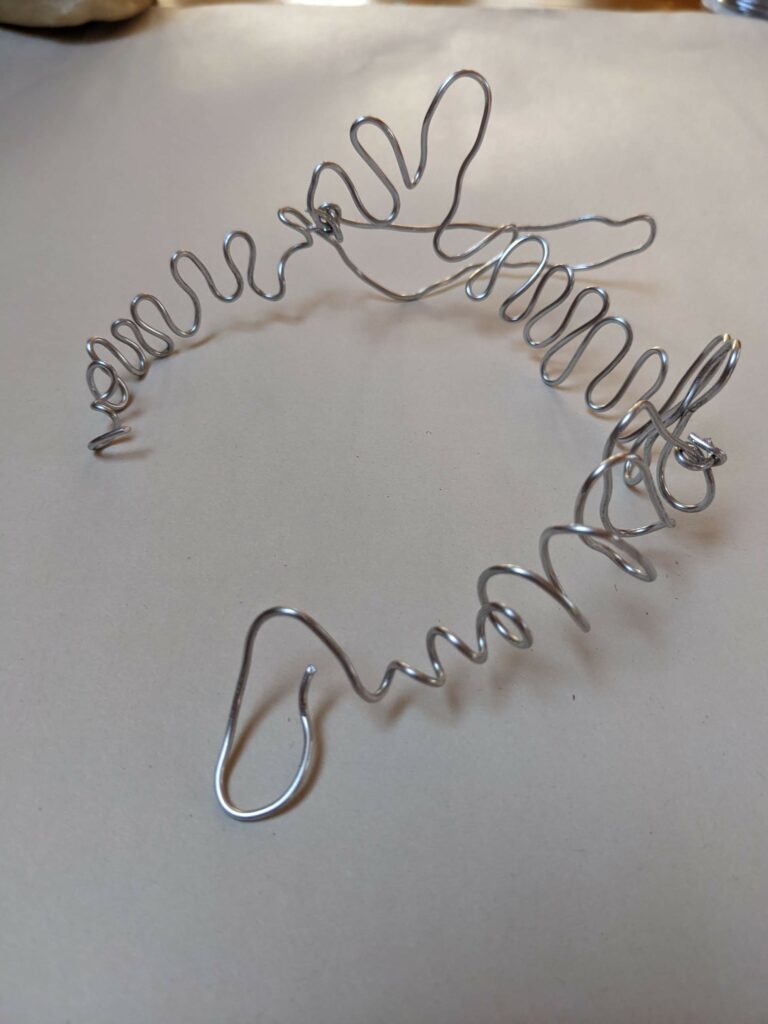
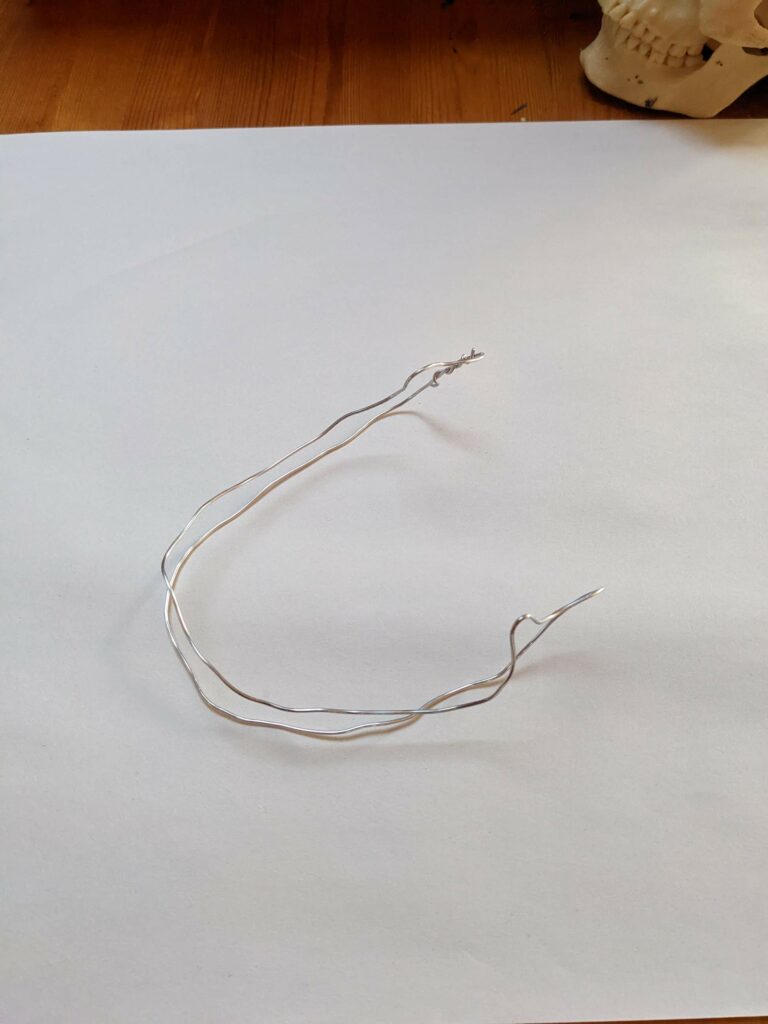
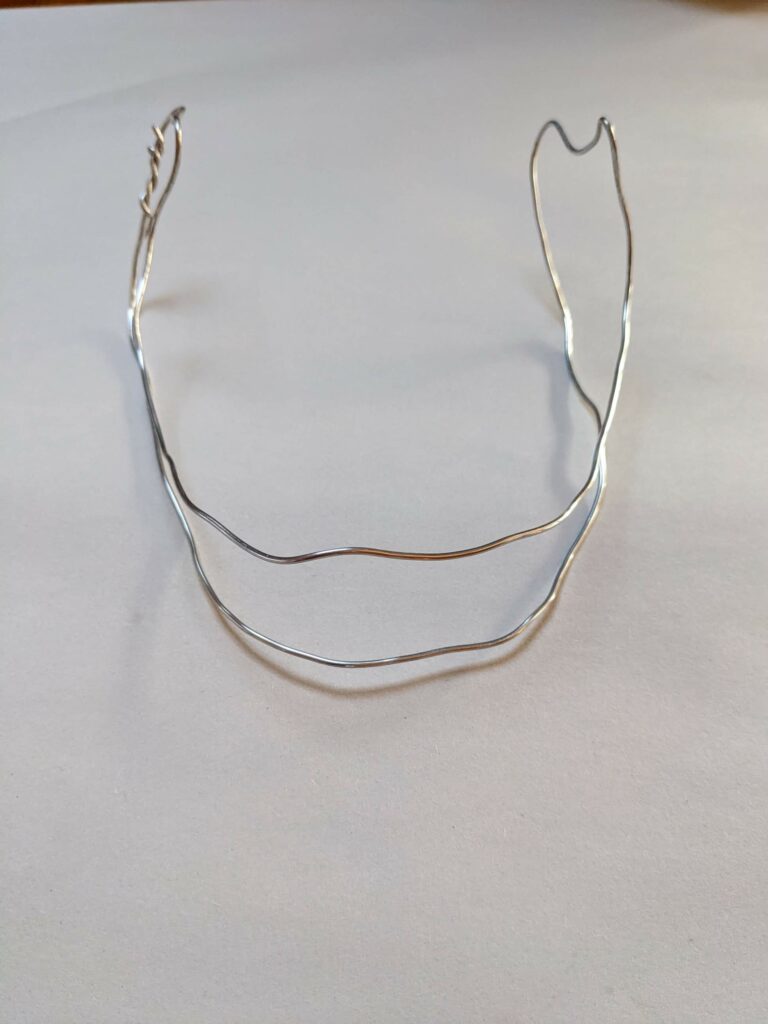
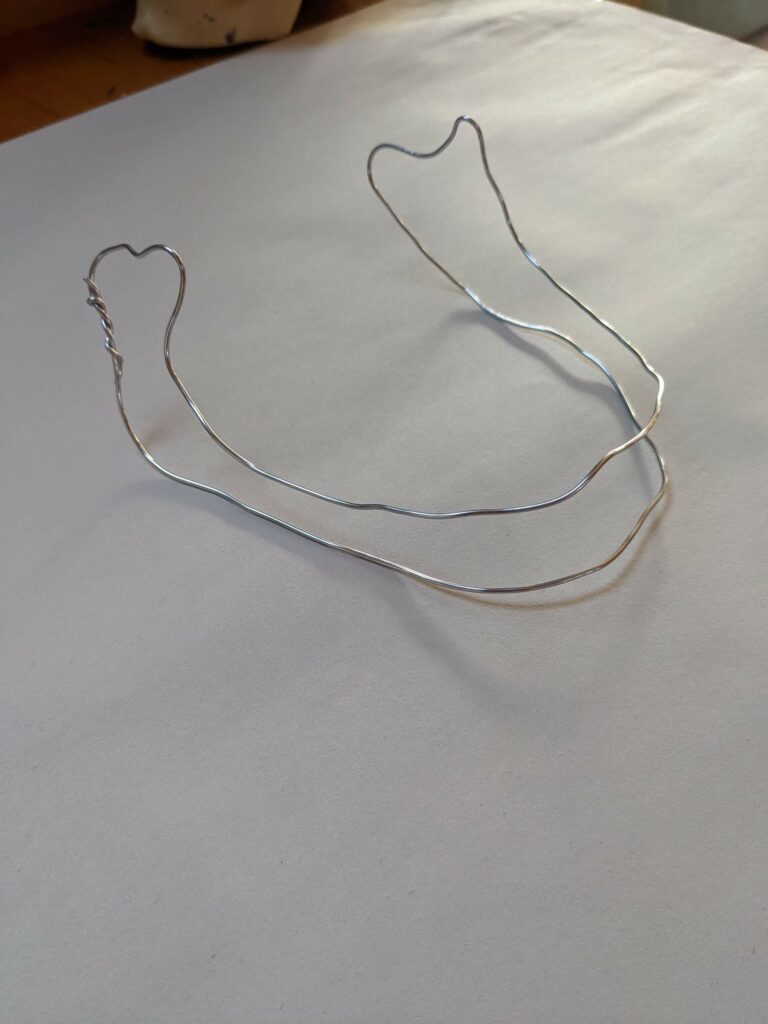
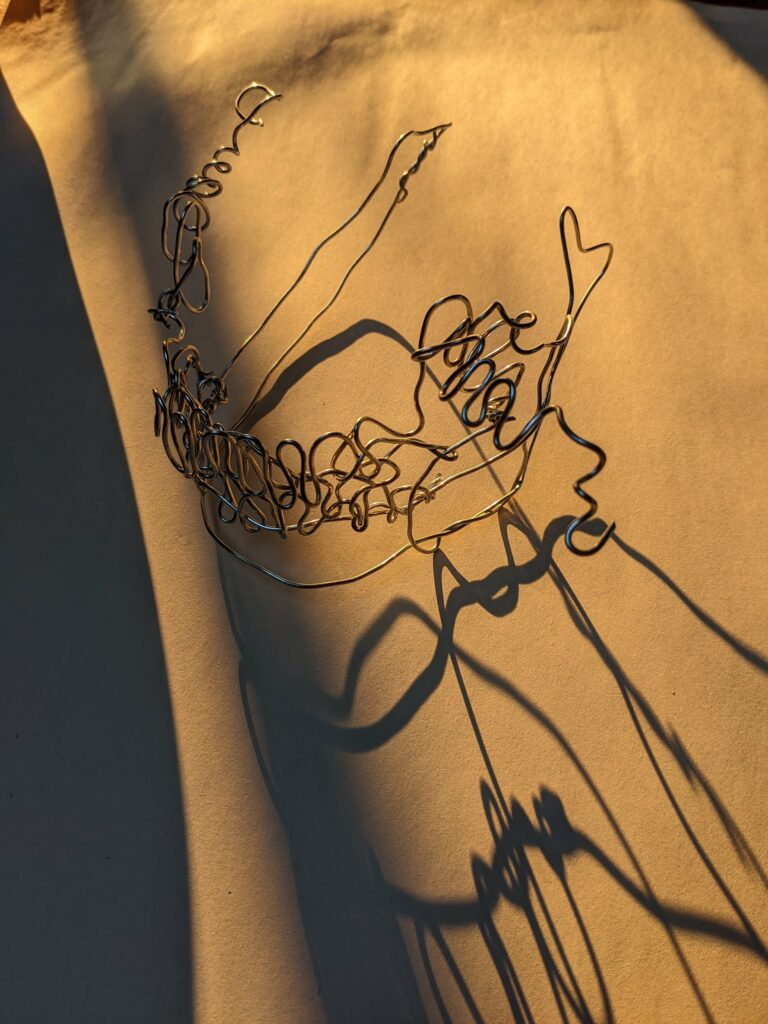
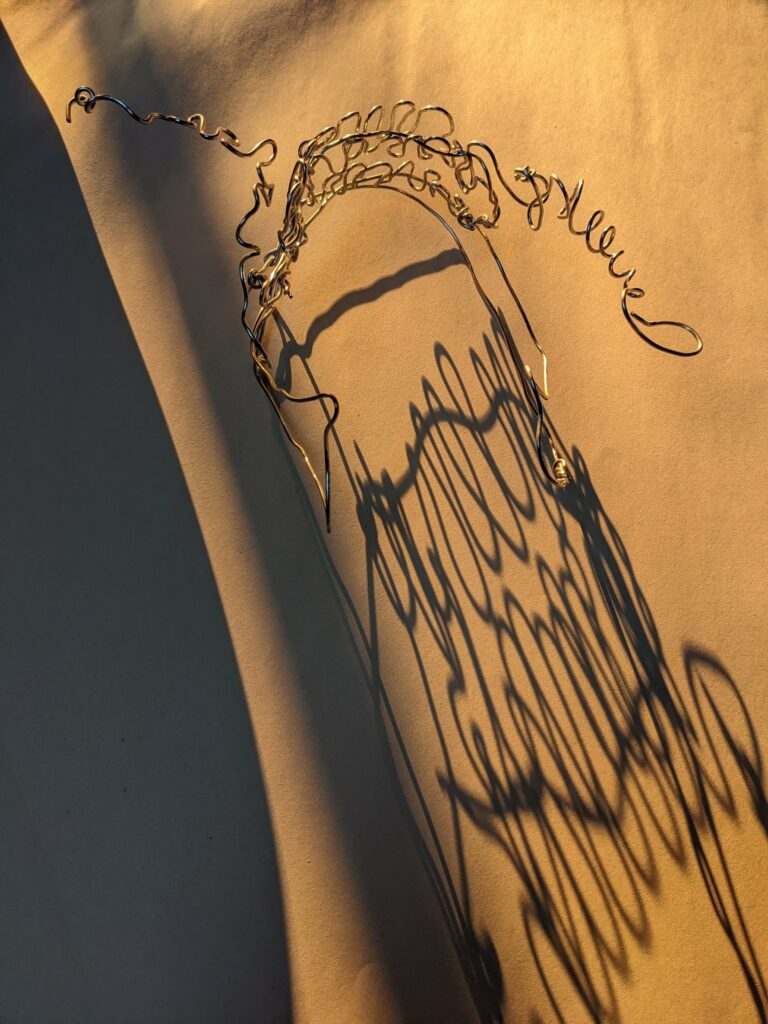
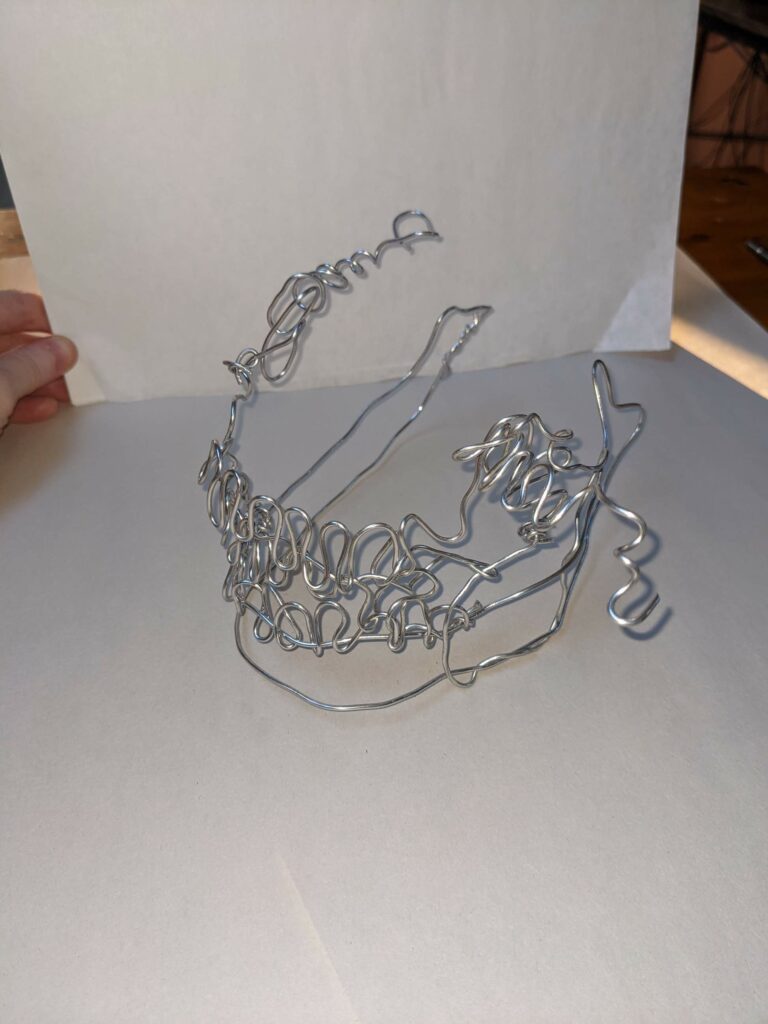
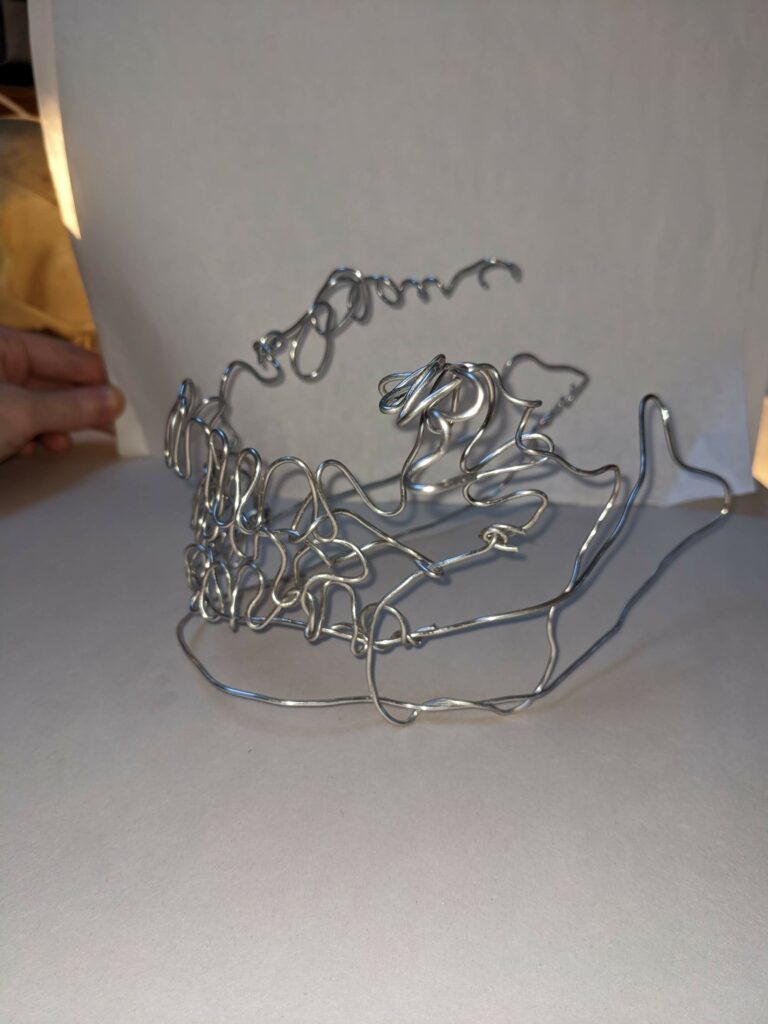
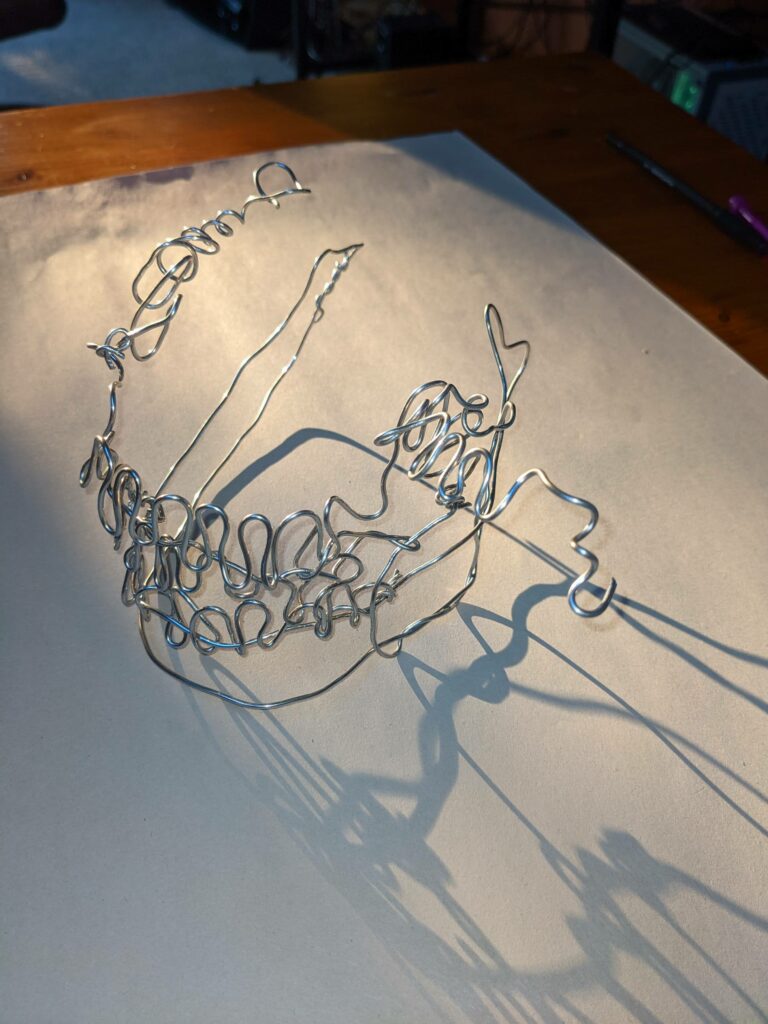
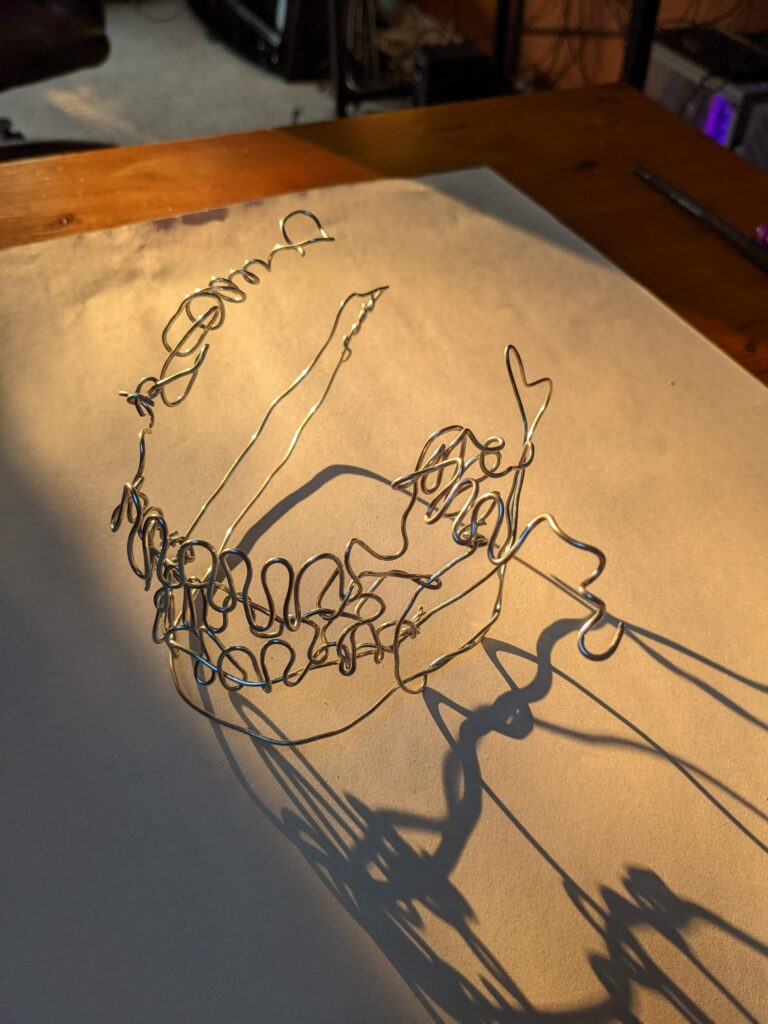
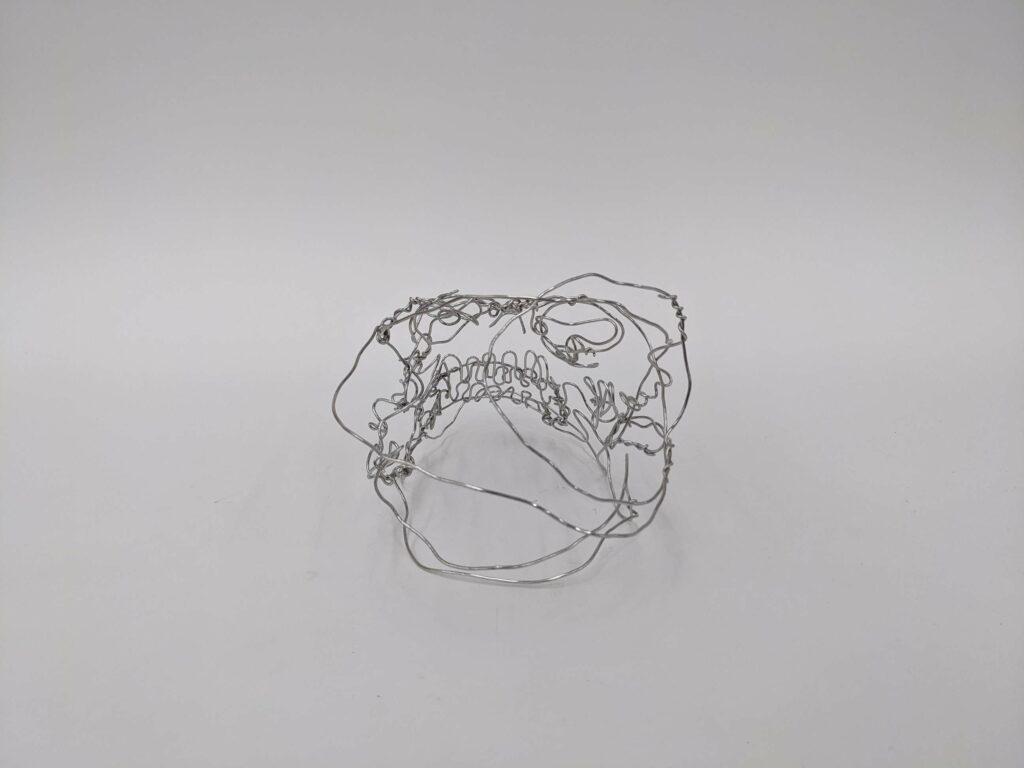
- I liked the idea of continuing what I started with my first wire project, using a combination of the schematics and expressive line throughout.
- I wanted joints to work similar to hinges & this is what I considered as the ‘focal points’ of hinges that I could use. Thankfully the project allowed for me to also use other spontaneous places to ‘link up’ parts of the skull design.
- One of the main features I knew I really wanted to feature somehow in the skull was a type of ‘spiral’ inside or emulating the skull but this doesn’t come in until later.
- Building the jaw as a base is what I started with. I didn’t really consider the structure of how much smaller the jaw is in comparison to the skull at first, so I had to adjust later on and decide what to do with it.
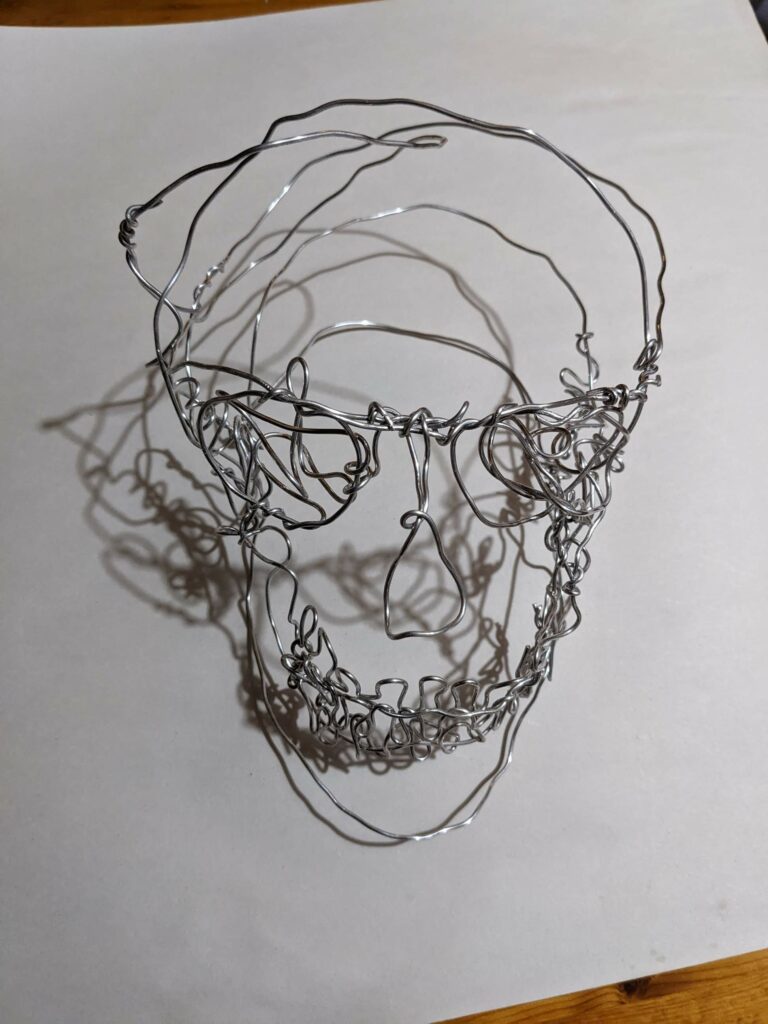
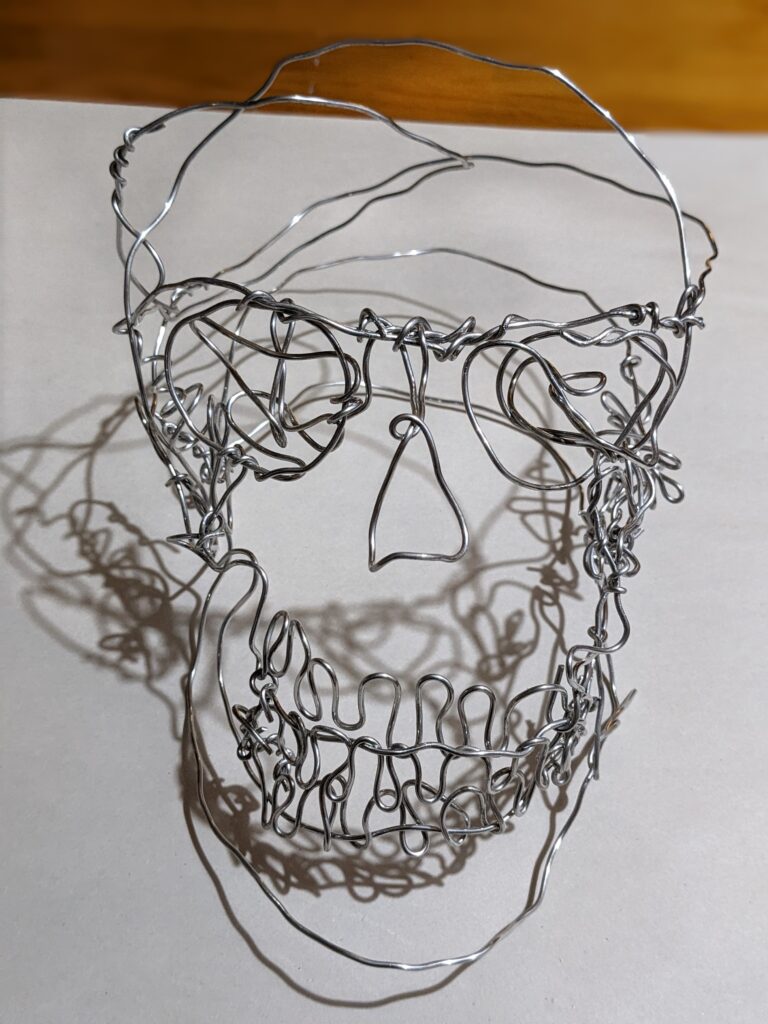
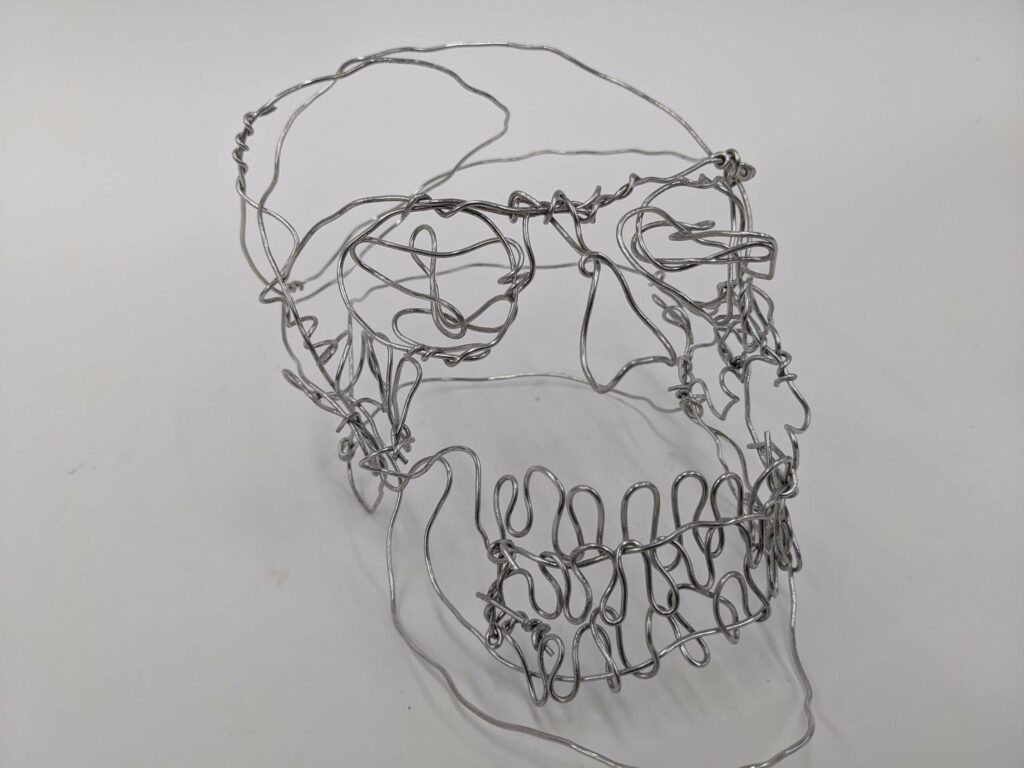
- I wanted the area above the lip to emulate moreso what you see on a skeleton than an actual human. To me, the shapes that connect the teeth and the bottom of the nose draw up very similar shapes to teeth as the teeth below them, so that is why there are three rows of teeth.
- I’m a bit indifferent on the lines in between the layers of teeth, I’m not sure necessarily if they were needed or take away from the design & I don’t recall it being a decision I made towards the structure, but it could have been.
- The curly lines are meant to represent or act as the areas of the cheeks that taper off towards the back of the skull. I did consider layering and how different bones would sit on top of each other, and it was fun to try and replicate the actual contours of certain smaller parts like so.
Week 3 (Week of Oct.18)
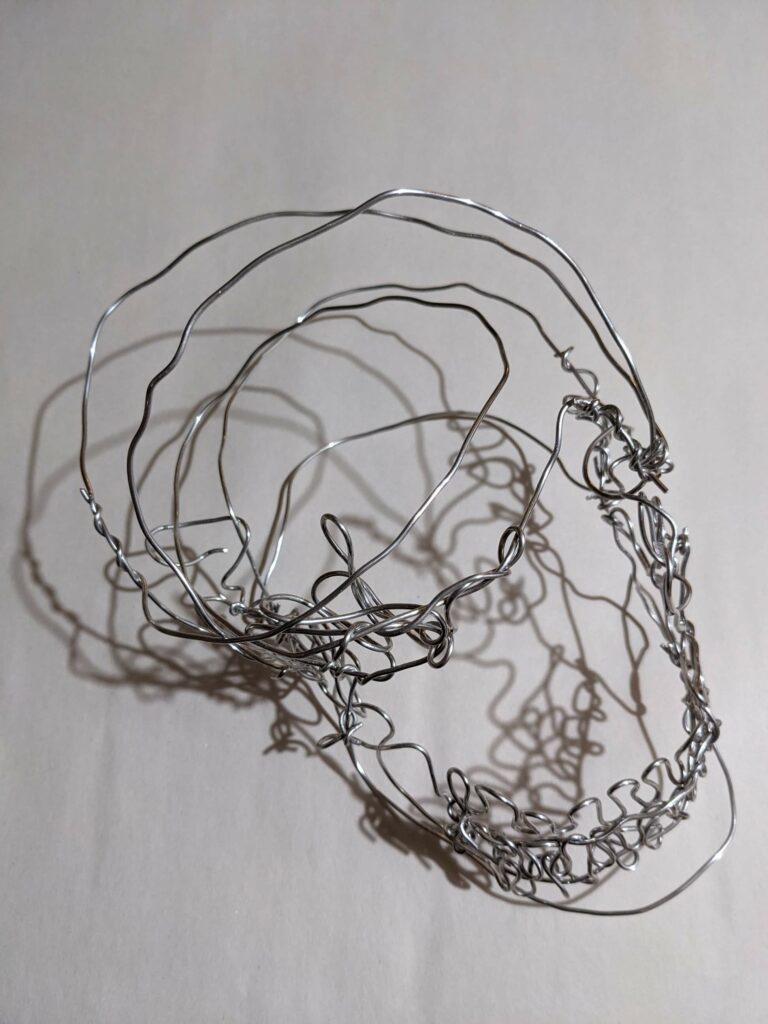
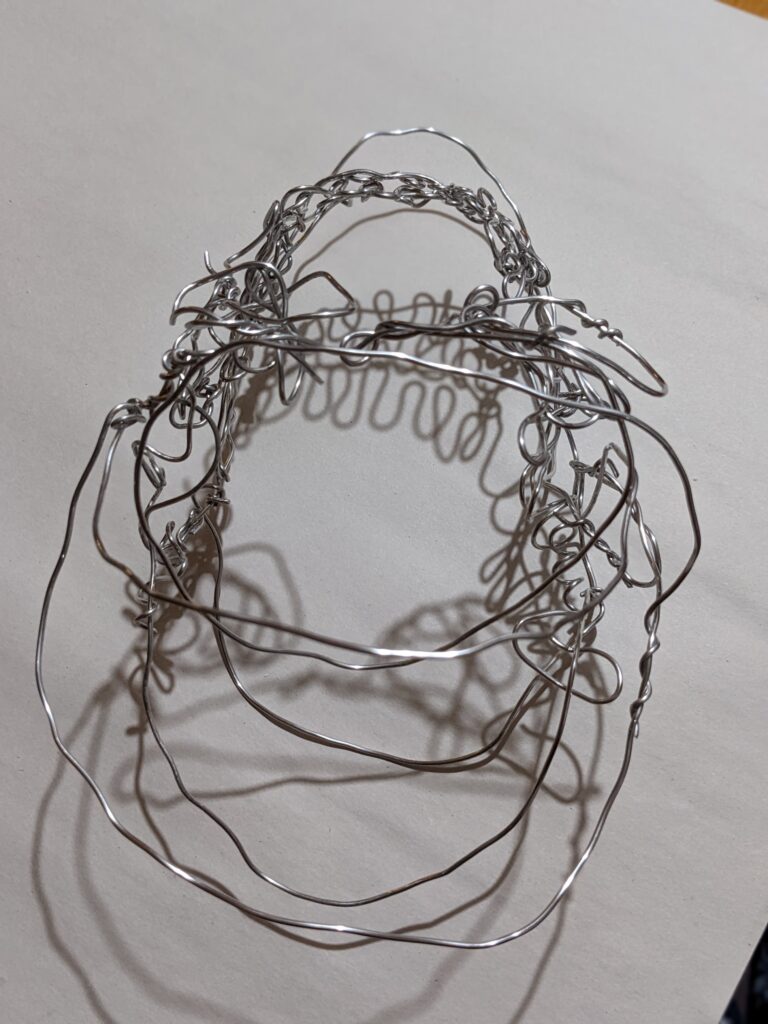
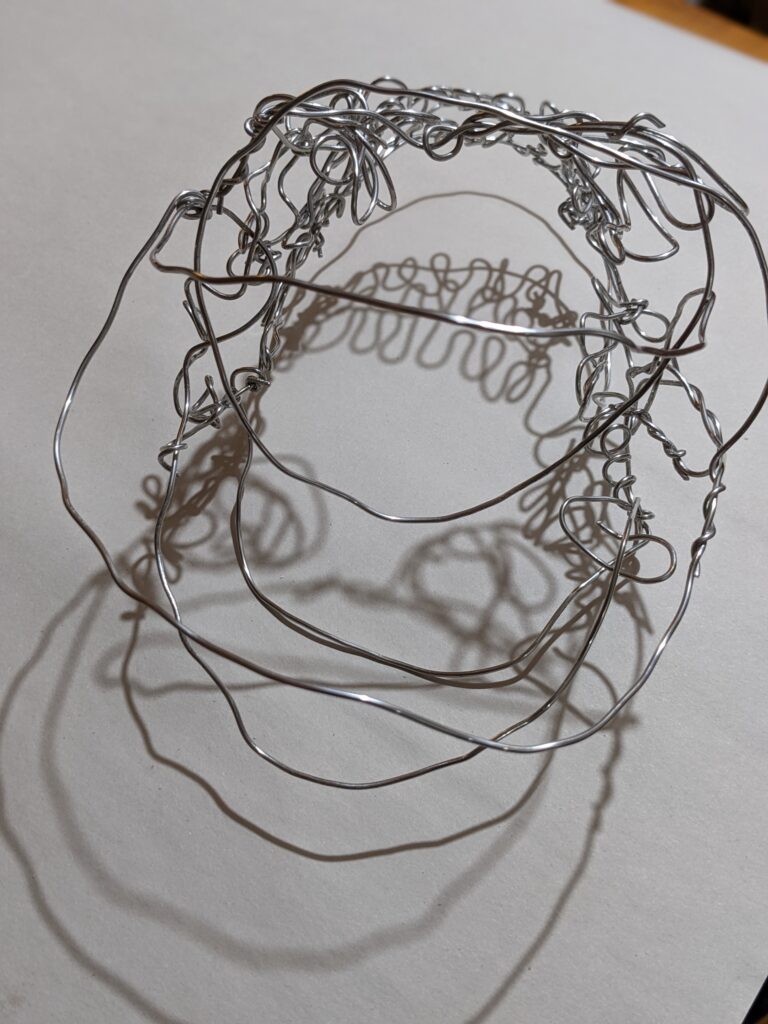
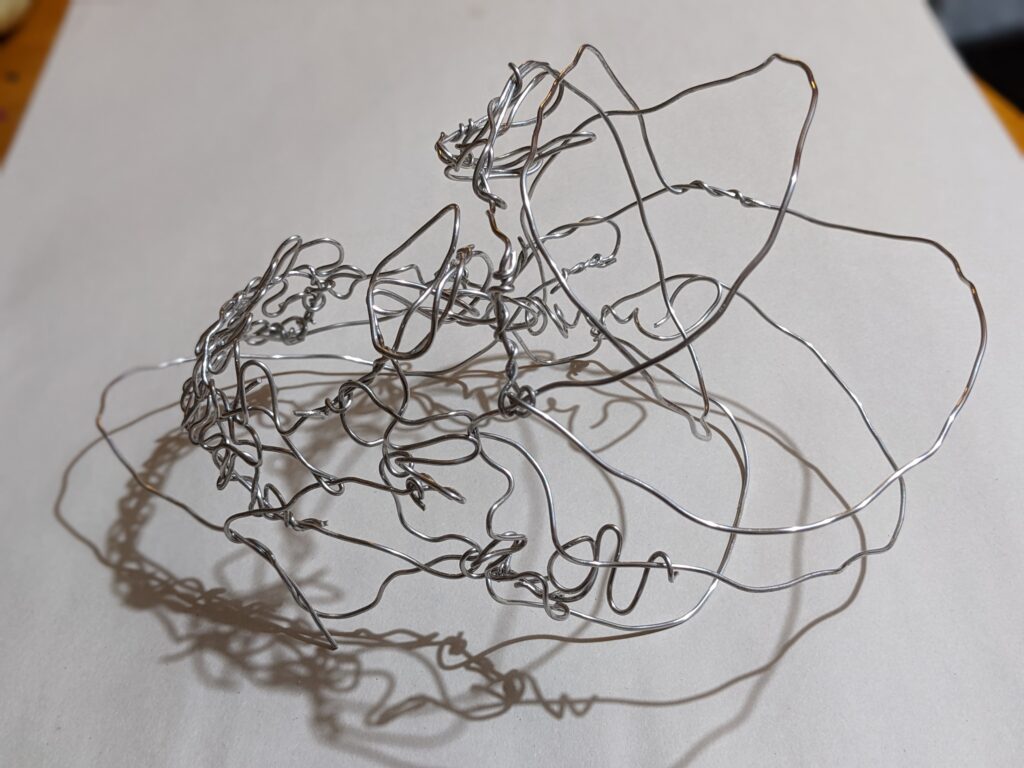
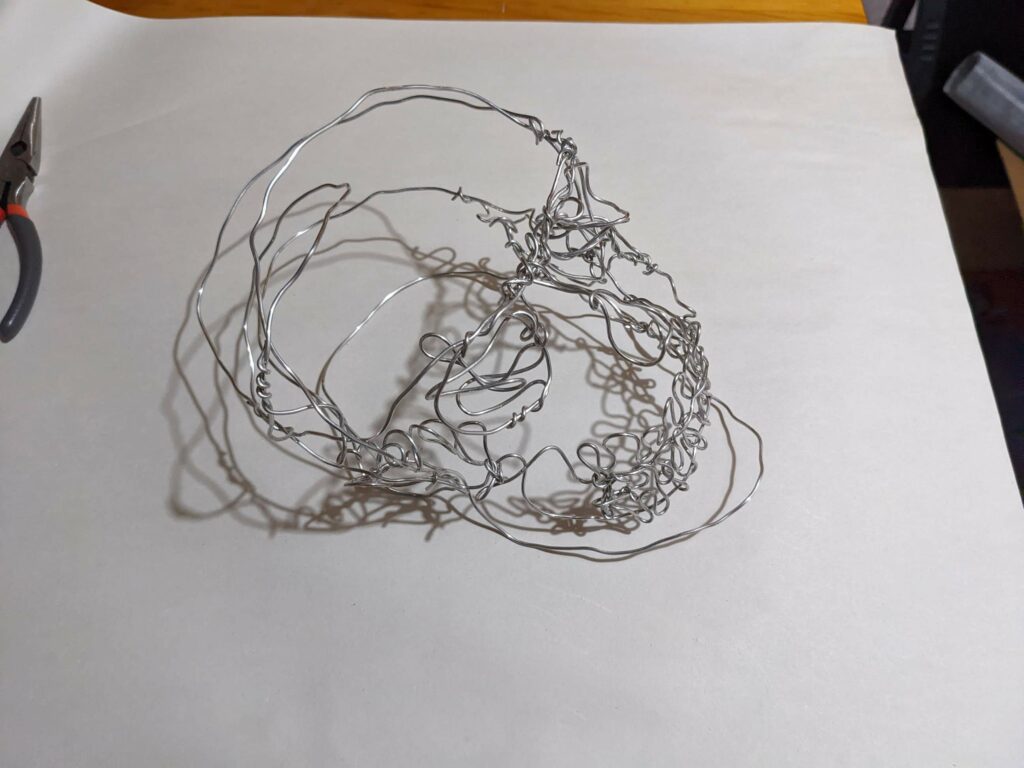
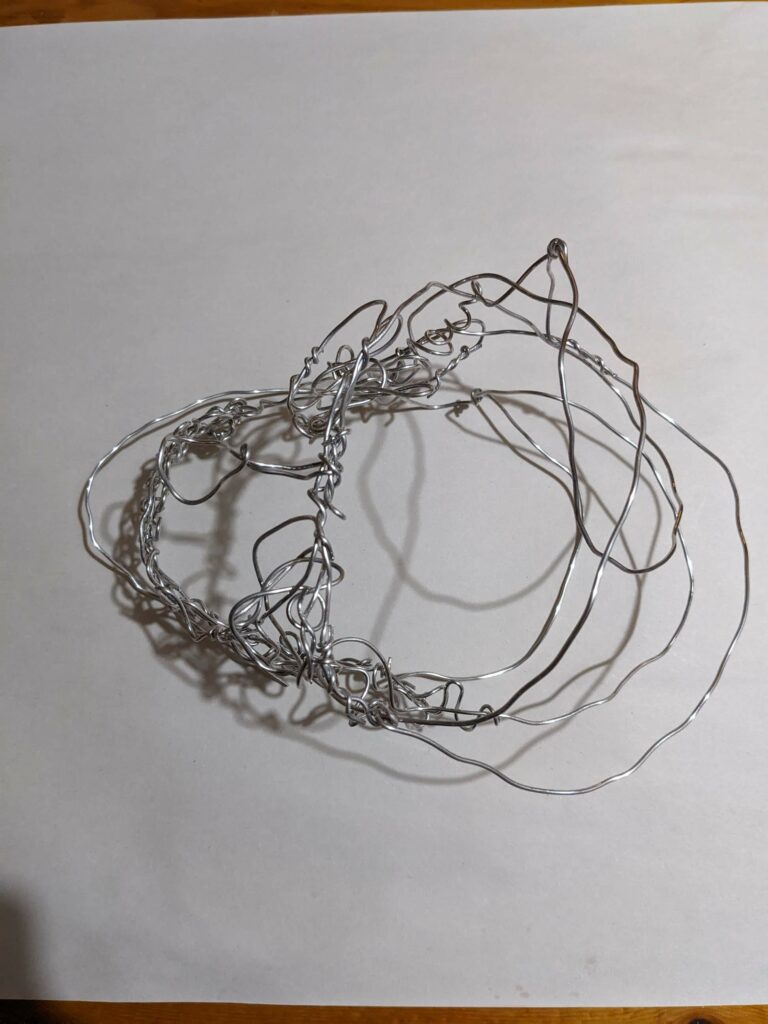
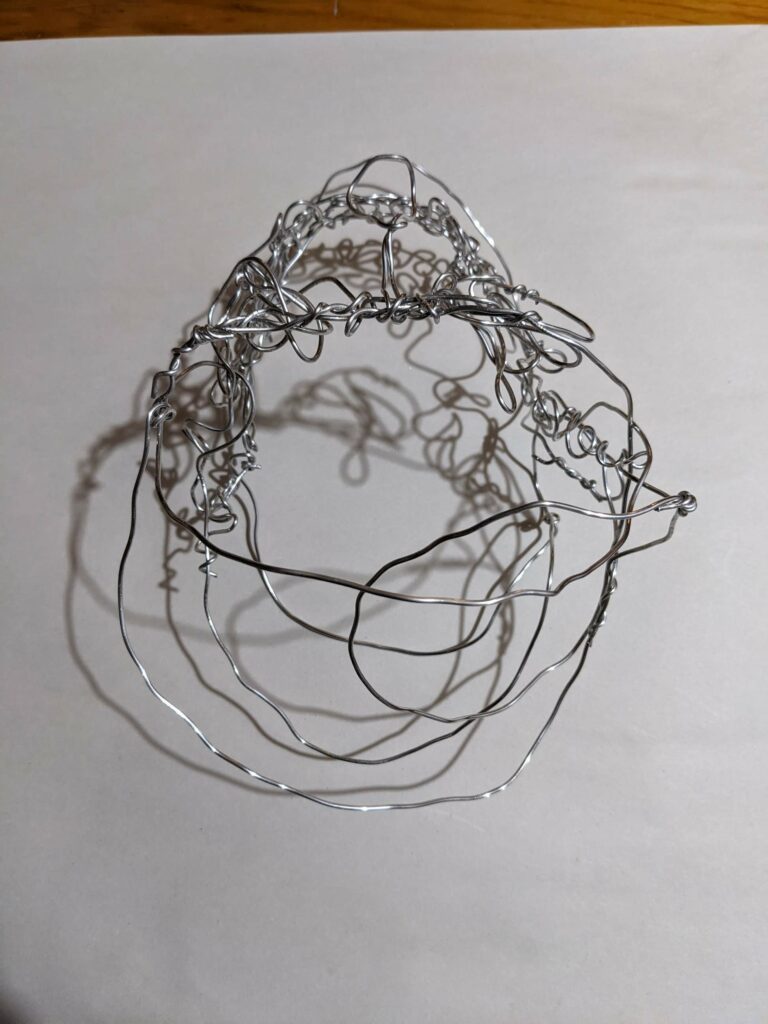
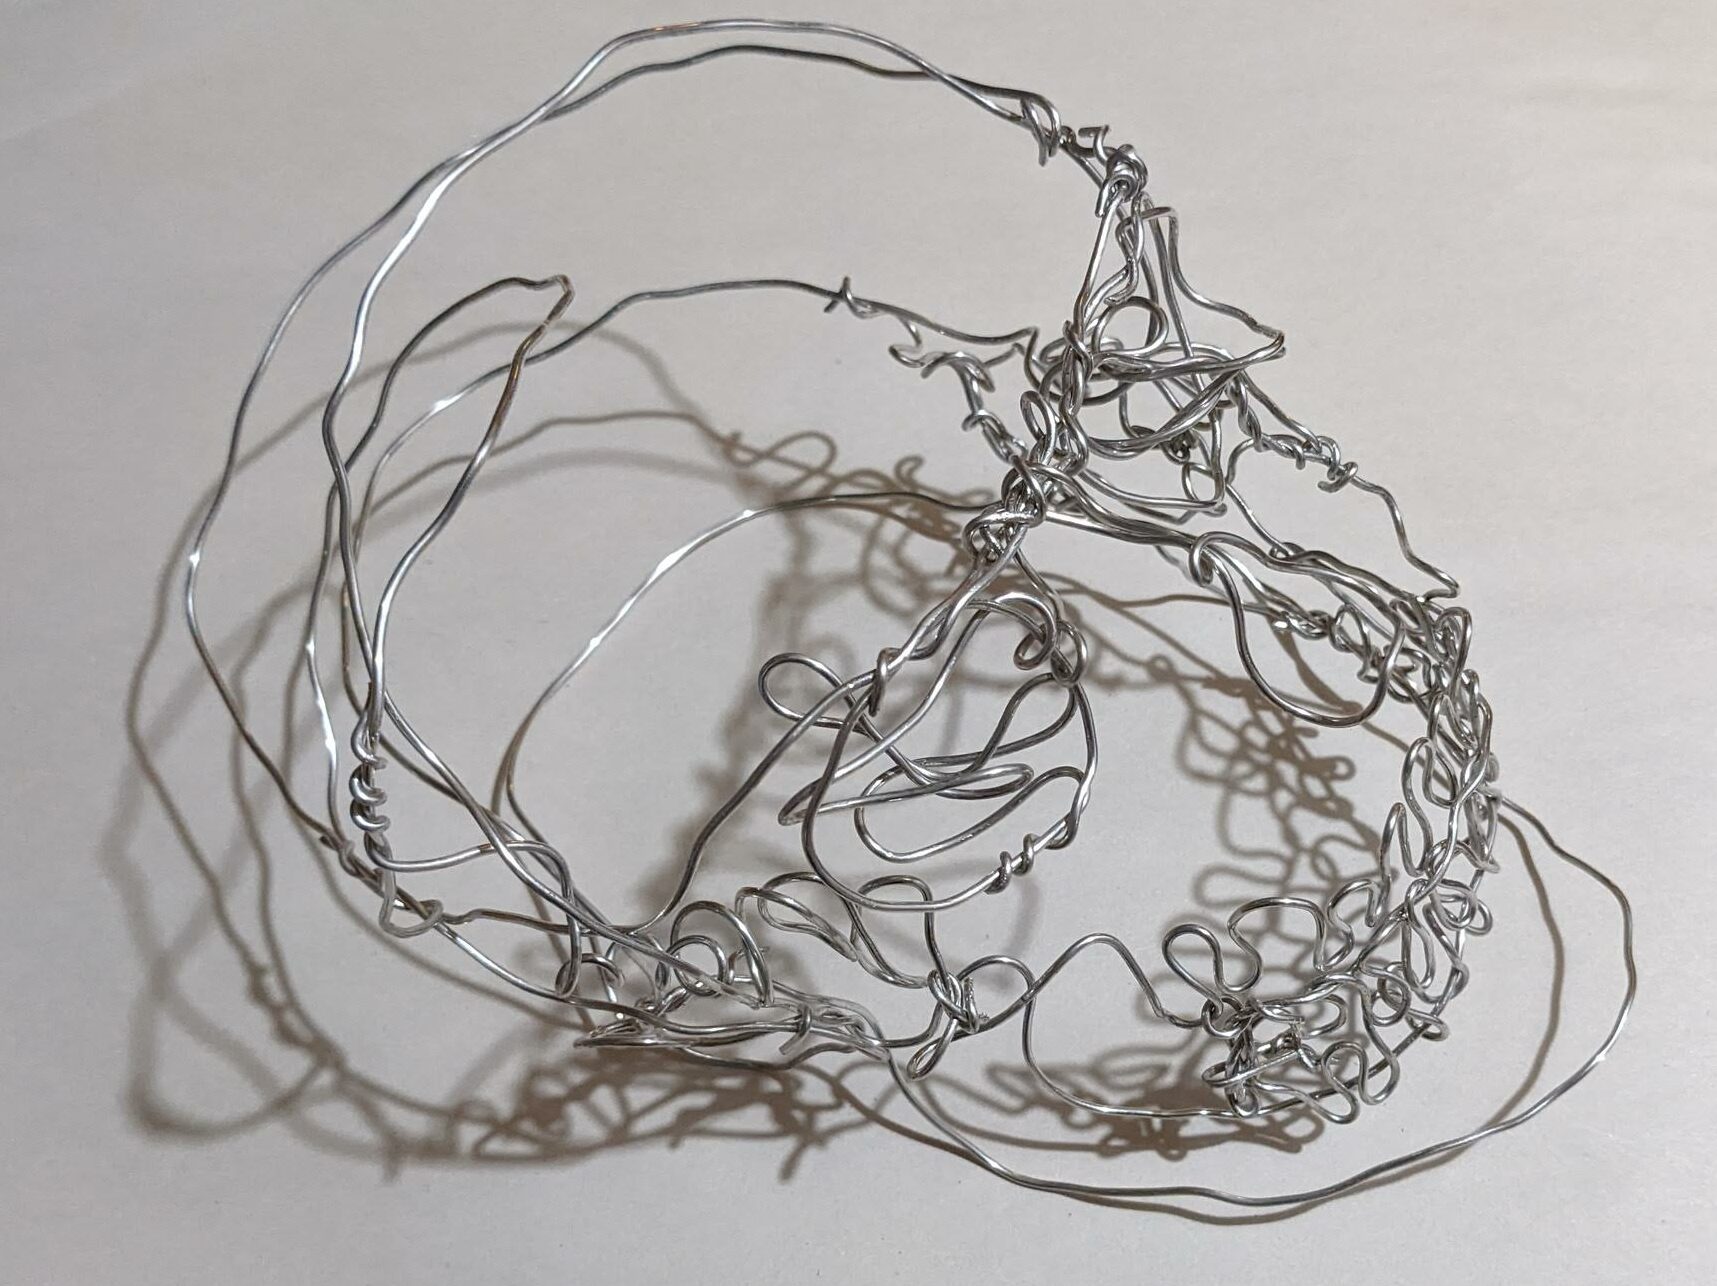
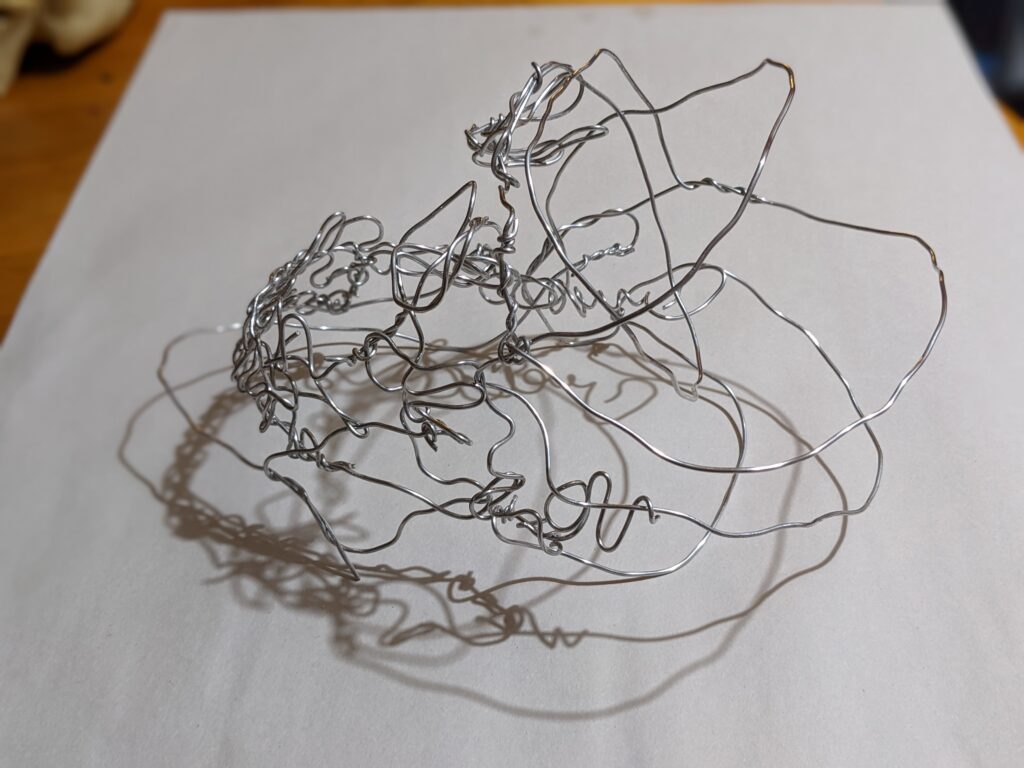
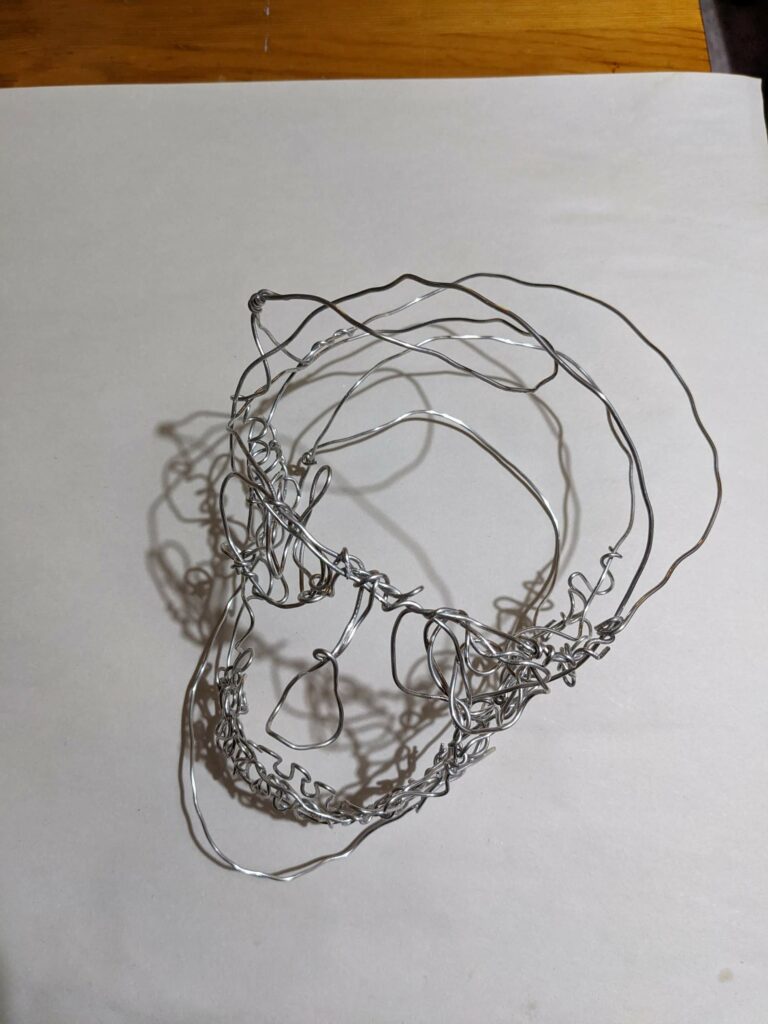
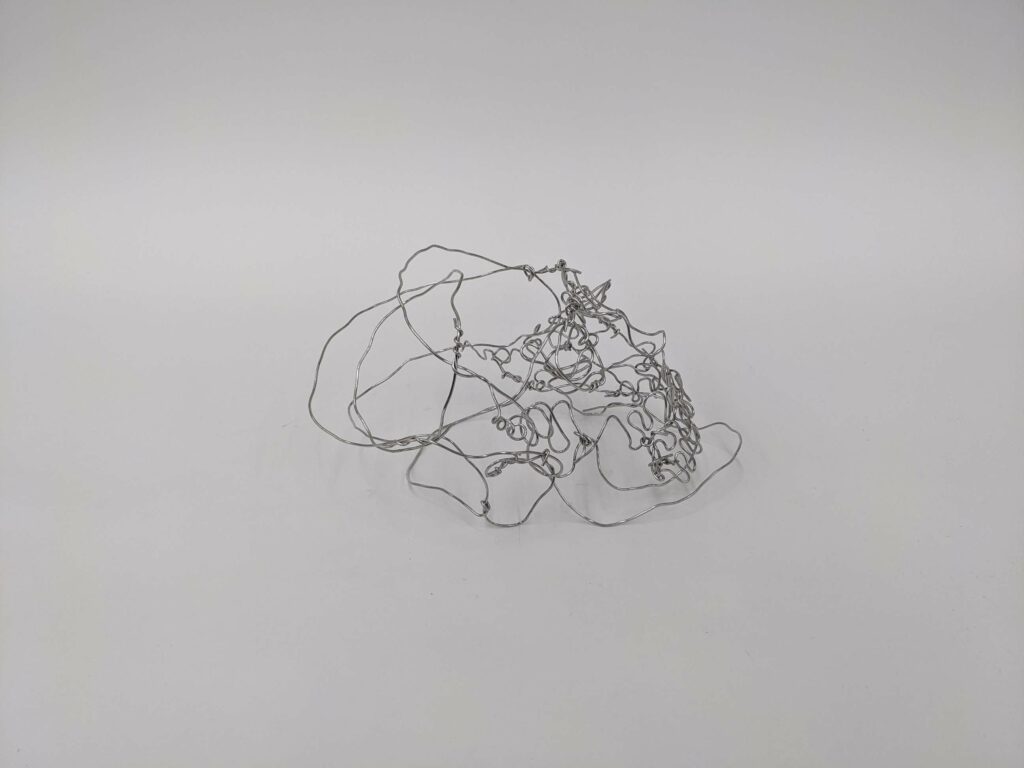
- You can see that more layers become added, more joints connecting together. Everything wove around each other fairly easily, it was much easier to work with than the first wire and I began to get a sense of ‘gravity’ which allowed me to gauge how far I needed to twist certain pieces in order to achieve a sense of balance, or where certain pieces could be shifted along the jawline to try and prop it up more.
- The skull became fairly heavy in the end and the jaw needed to be reshaped later in the process – not to repeat an old nursery rhyme, but certain bones really do connect to certain bones, even in wire… mainly, the parts of the jaw that hooked onto the skull, the eye pieces beginning to be added hooking onto the ‘forehead’ which then altered the movements of the inside swirl of the skull, and also the inherent shape of the rounded skull lines around it.
- I enjoyed that even though I usually use similar tactics of winding some pieces together, I was a little more selective sometimes of where I wanted to place these lines. The forehead maybe had a lot of different pieces of wire converging, but I enjoy the manual feeling of carefully twisting certain ‘joints’ together, it feels as if I have more say in the matter & am getting more personal than twisting with the clippers. The clippers sometimes work well as a ‘final adjustment’ but it’s easier to be particular initially with your hands, as to protect the general movements of pieces you don’t want moved.
- Parts of the back of the skull wrap around, but taper off and twist around cheekbones and forehead, eyes. The spiral is a piece in and of itself which connected from the cheekbone, swerving back down and into the ‘forehead’ area again due to how many pieces are connected in that area.
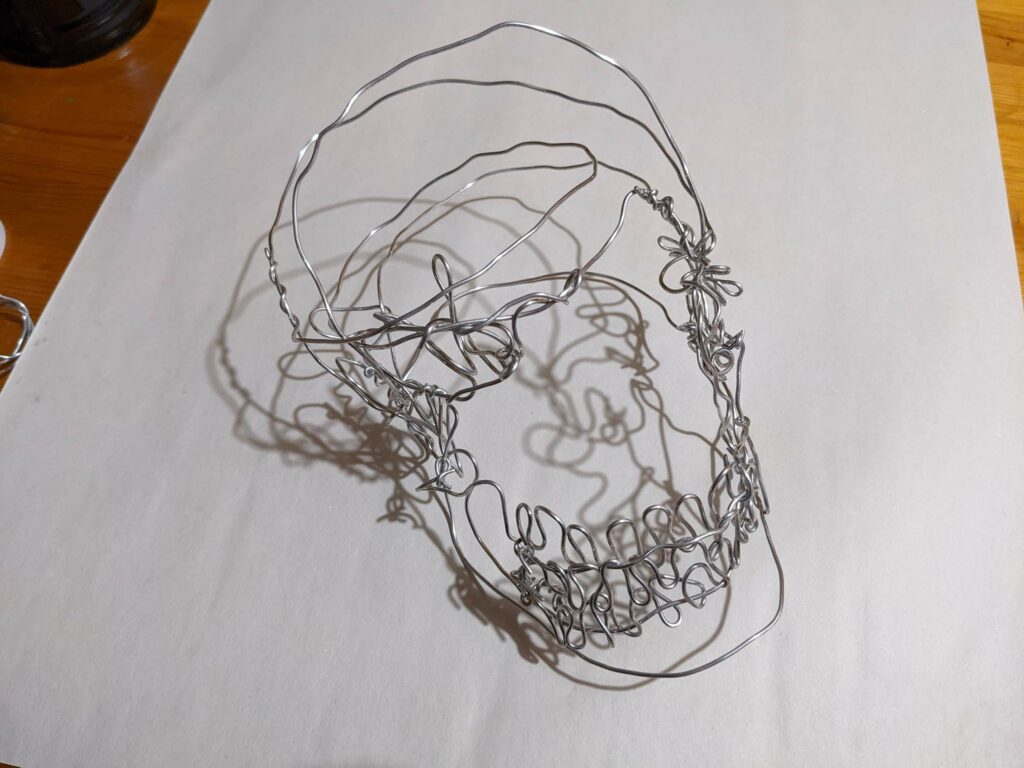
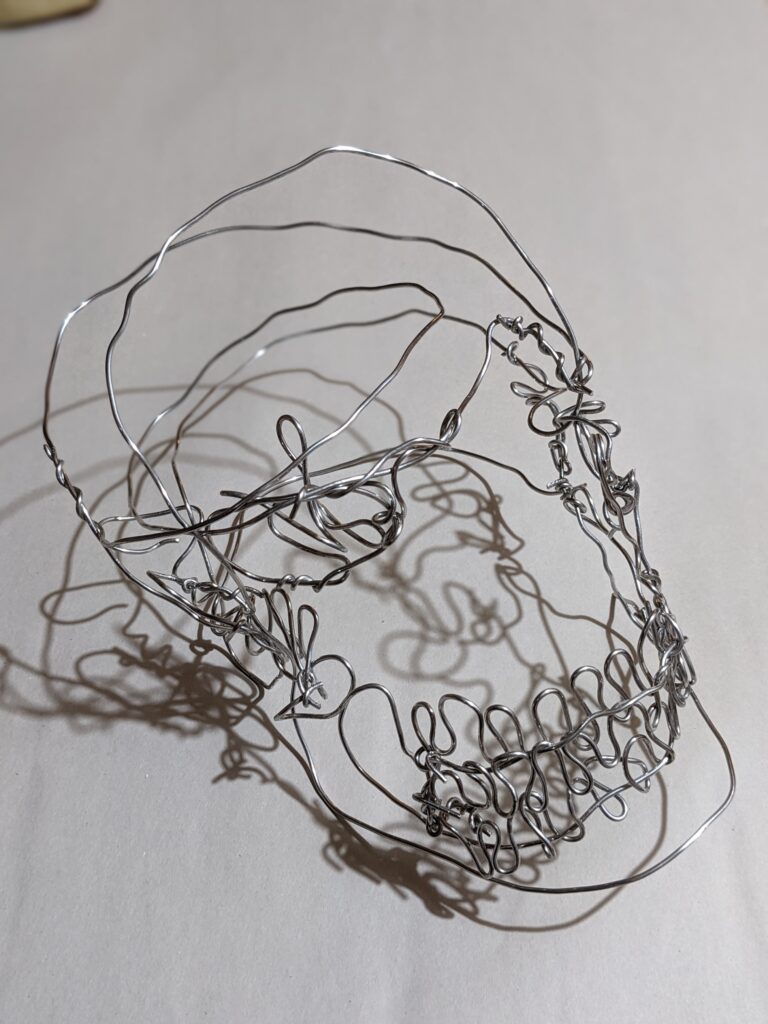
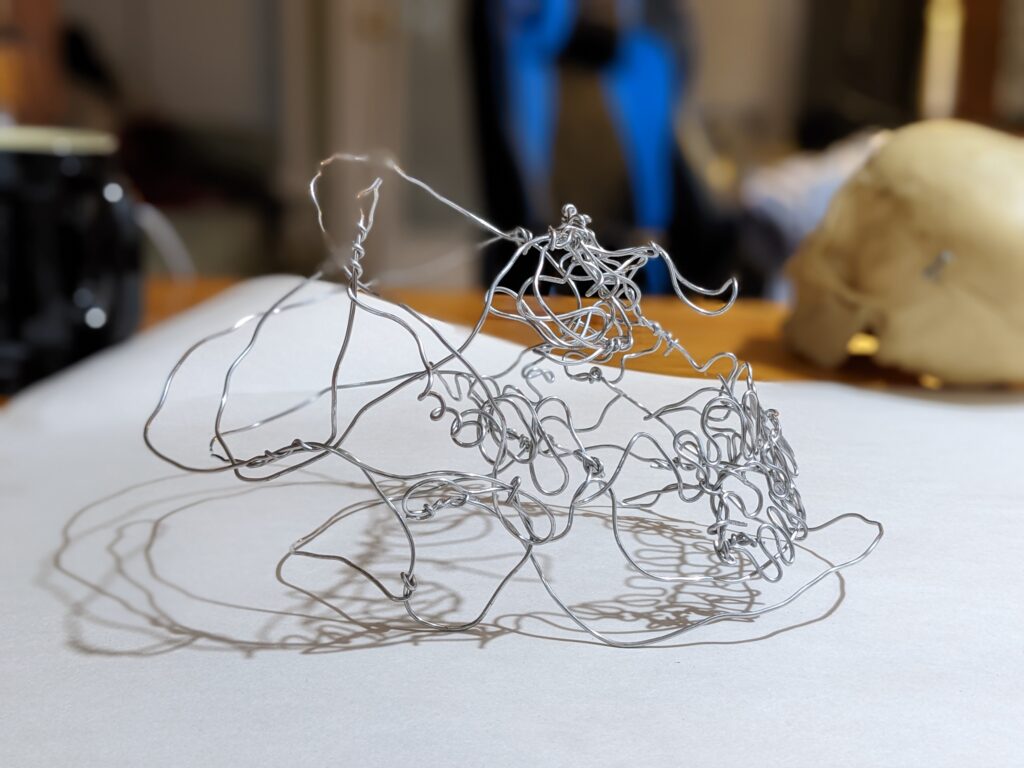
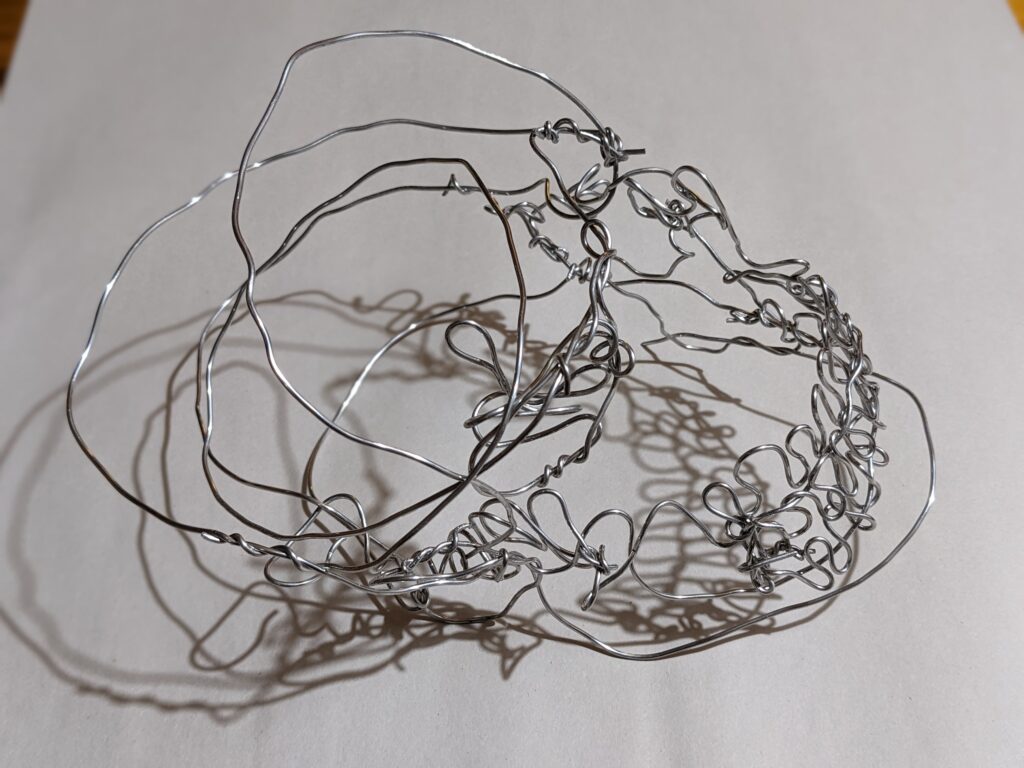
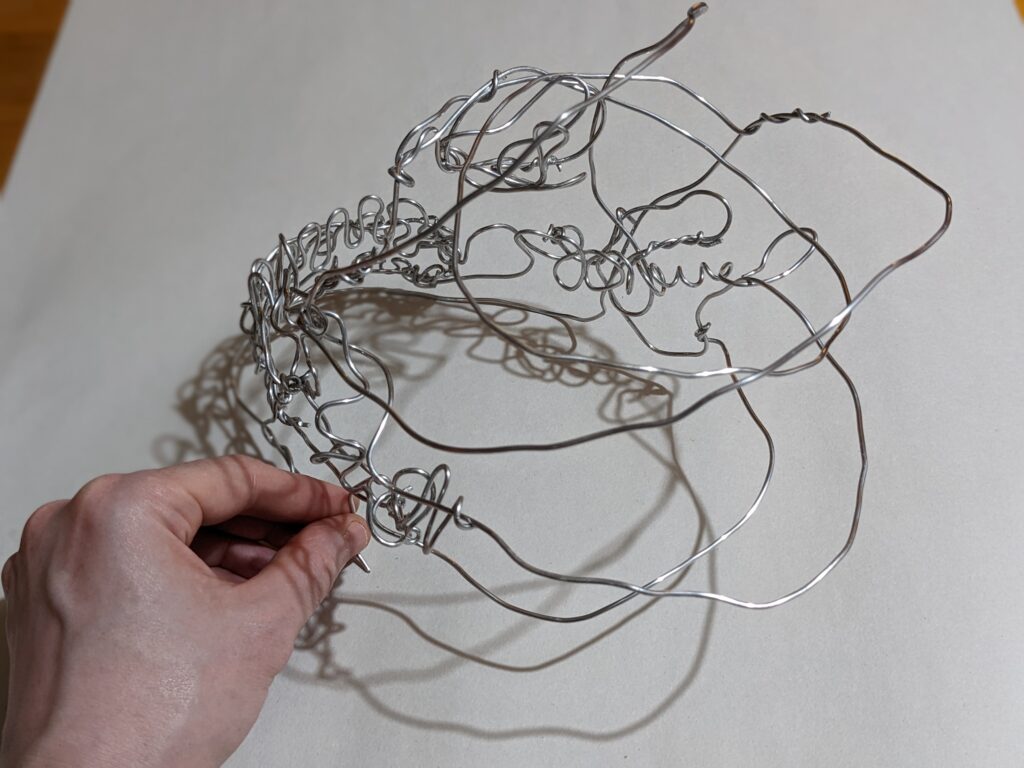
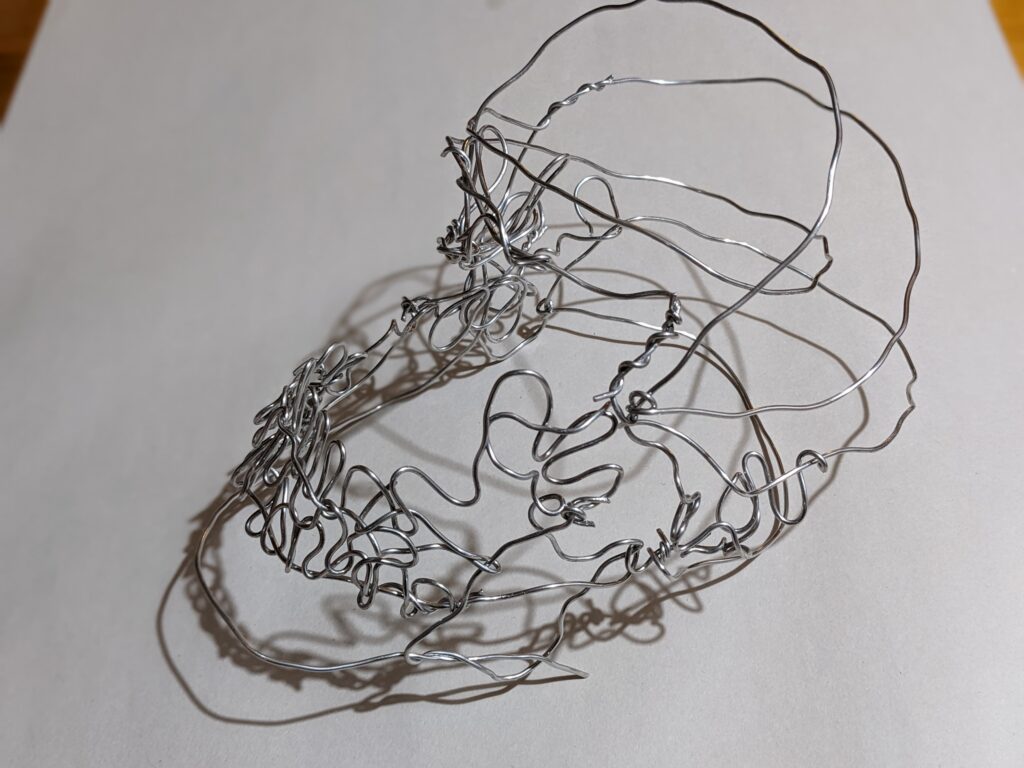
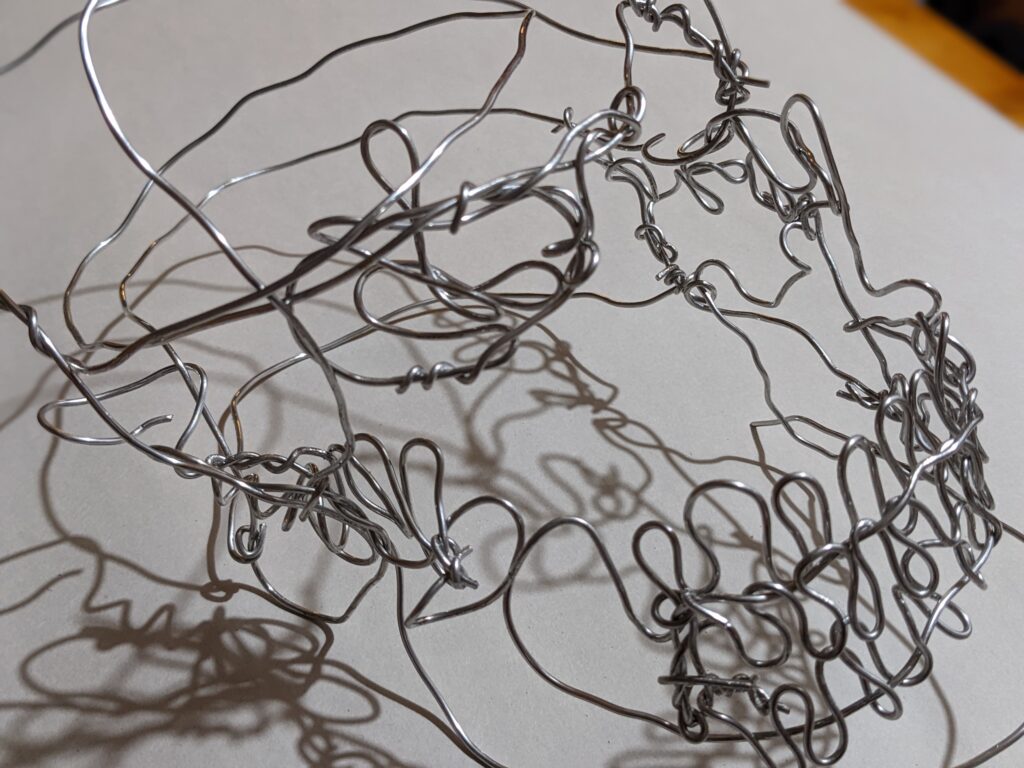
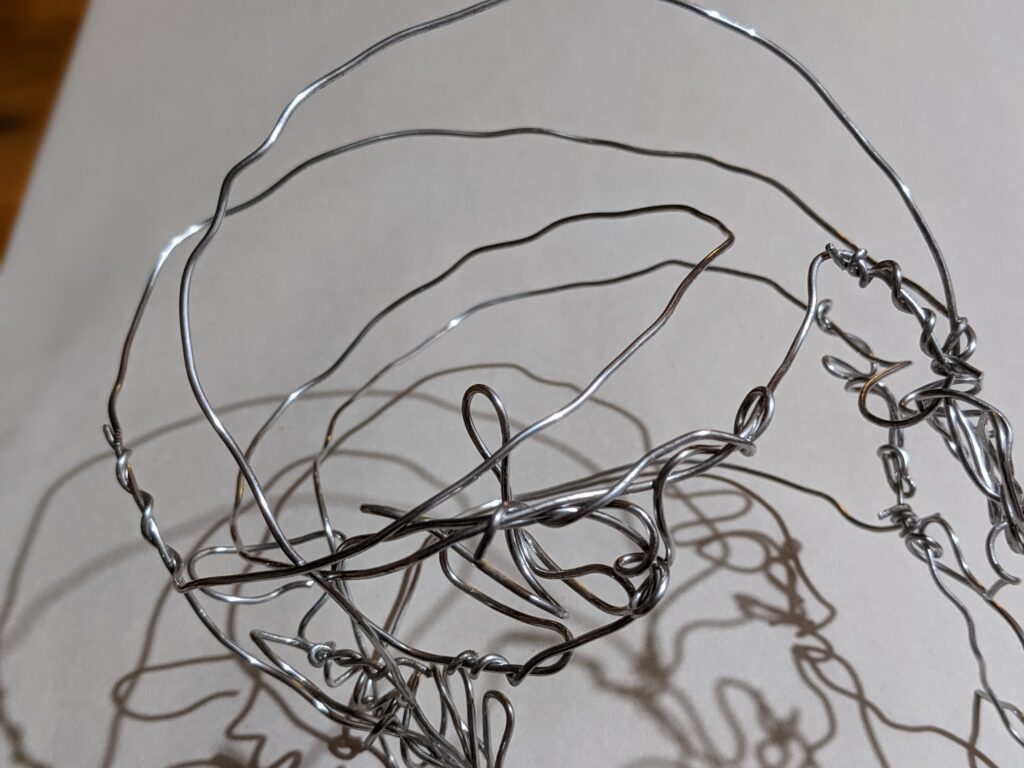
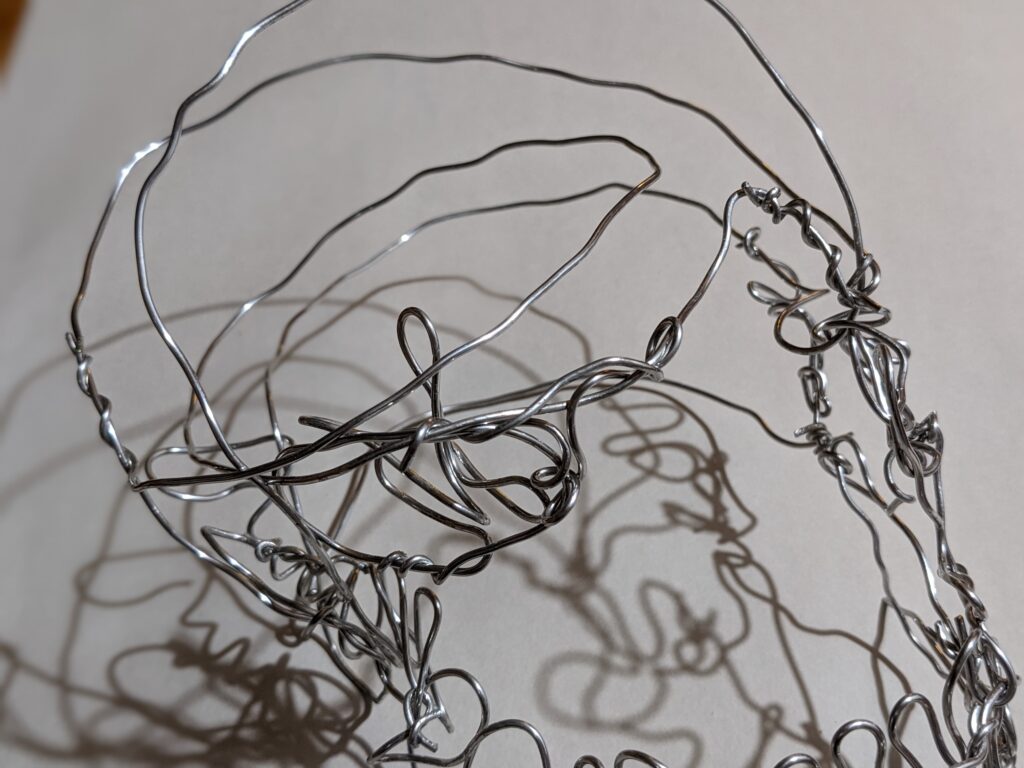
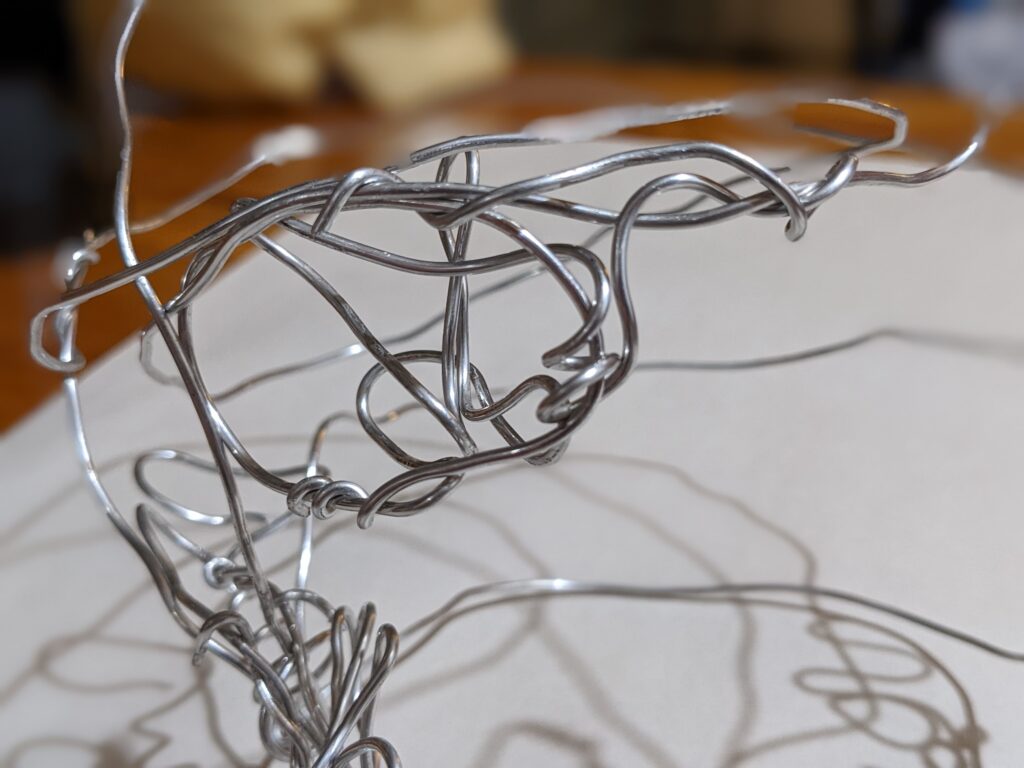
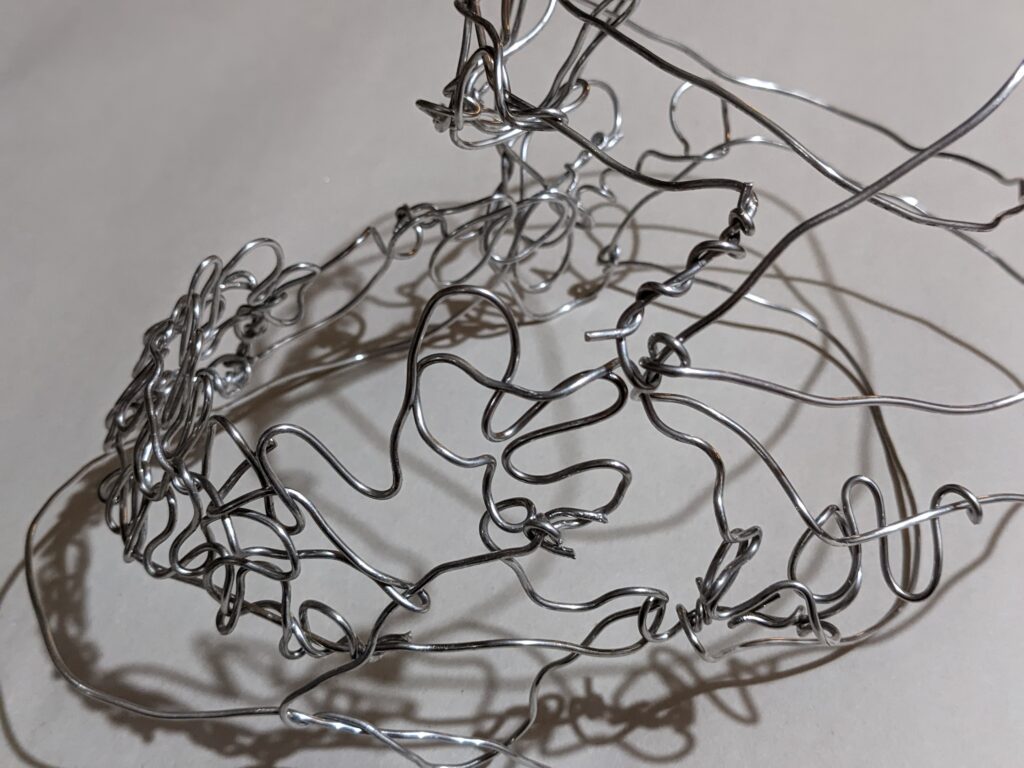
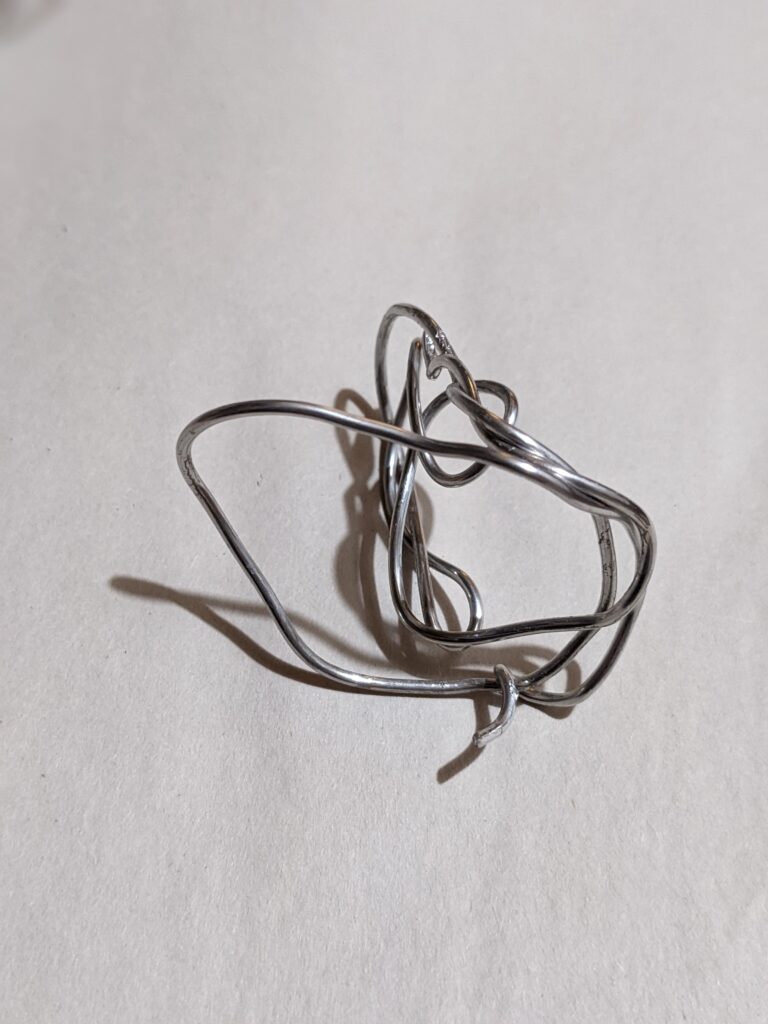
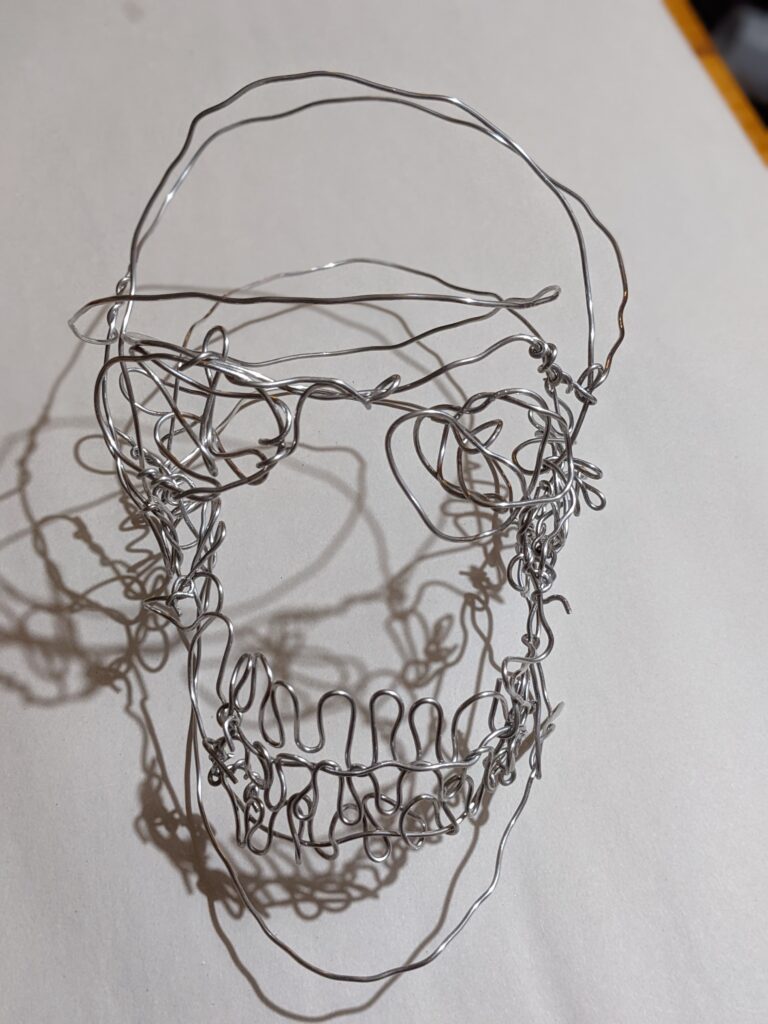
- The eye sockets were both made as individual pieces and solutions were found for connecting to the forehead or cheeks. I really enjoyed playing with this part and making decisions about this, because I found that some parts of the skull were actually okay to ‘float’ and it took a bit of fiddling in a way that was not entirely predictable at all. I could rearrange the skull and it would look like a new character or mood every time based on the slight adjustments of the eyebrow and eye area especially. I judged how realistic it was for the eye sockets to be placed VS the feeling I just described until I was content (and in trying to make sure there was still some volume in the skull after that and the jaw needed adjustments.)
- Before I called it, I knew I really wanted to add the nose area and that this would complete the personality or how the skull appeared in general & read as a skull. I guess noses have as much character on a skull as they do in a fully fleshed out human! It ended up being a last-minute decision to make the curve of the nose leading up to be more well-reinforced by not simply leaving it as one dangling line. I was able to reinforce it to (hopefully continue to) hold its shape by wire veering off and twisting up higher near the forehead, too.
